Finishing Techniques for Miniature Furniture
Master miniature furniture finishing with this complete guide to staining, French polishing, lacquer spraying, and wax finishing at 1/12 scale.
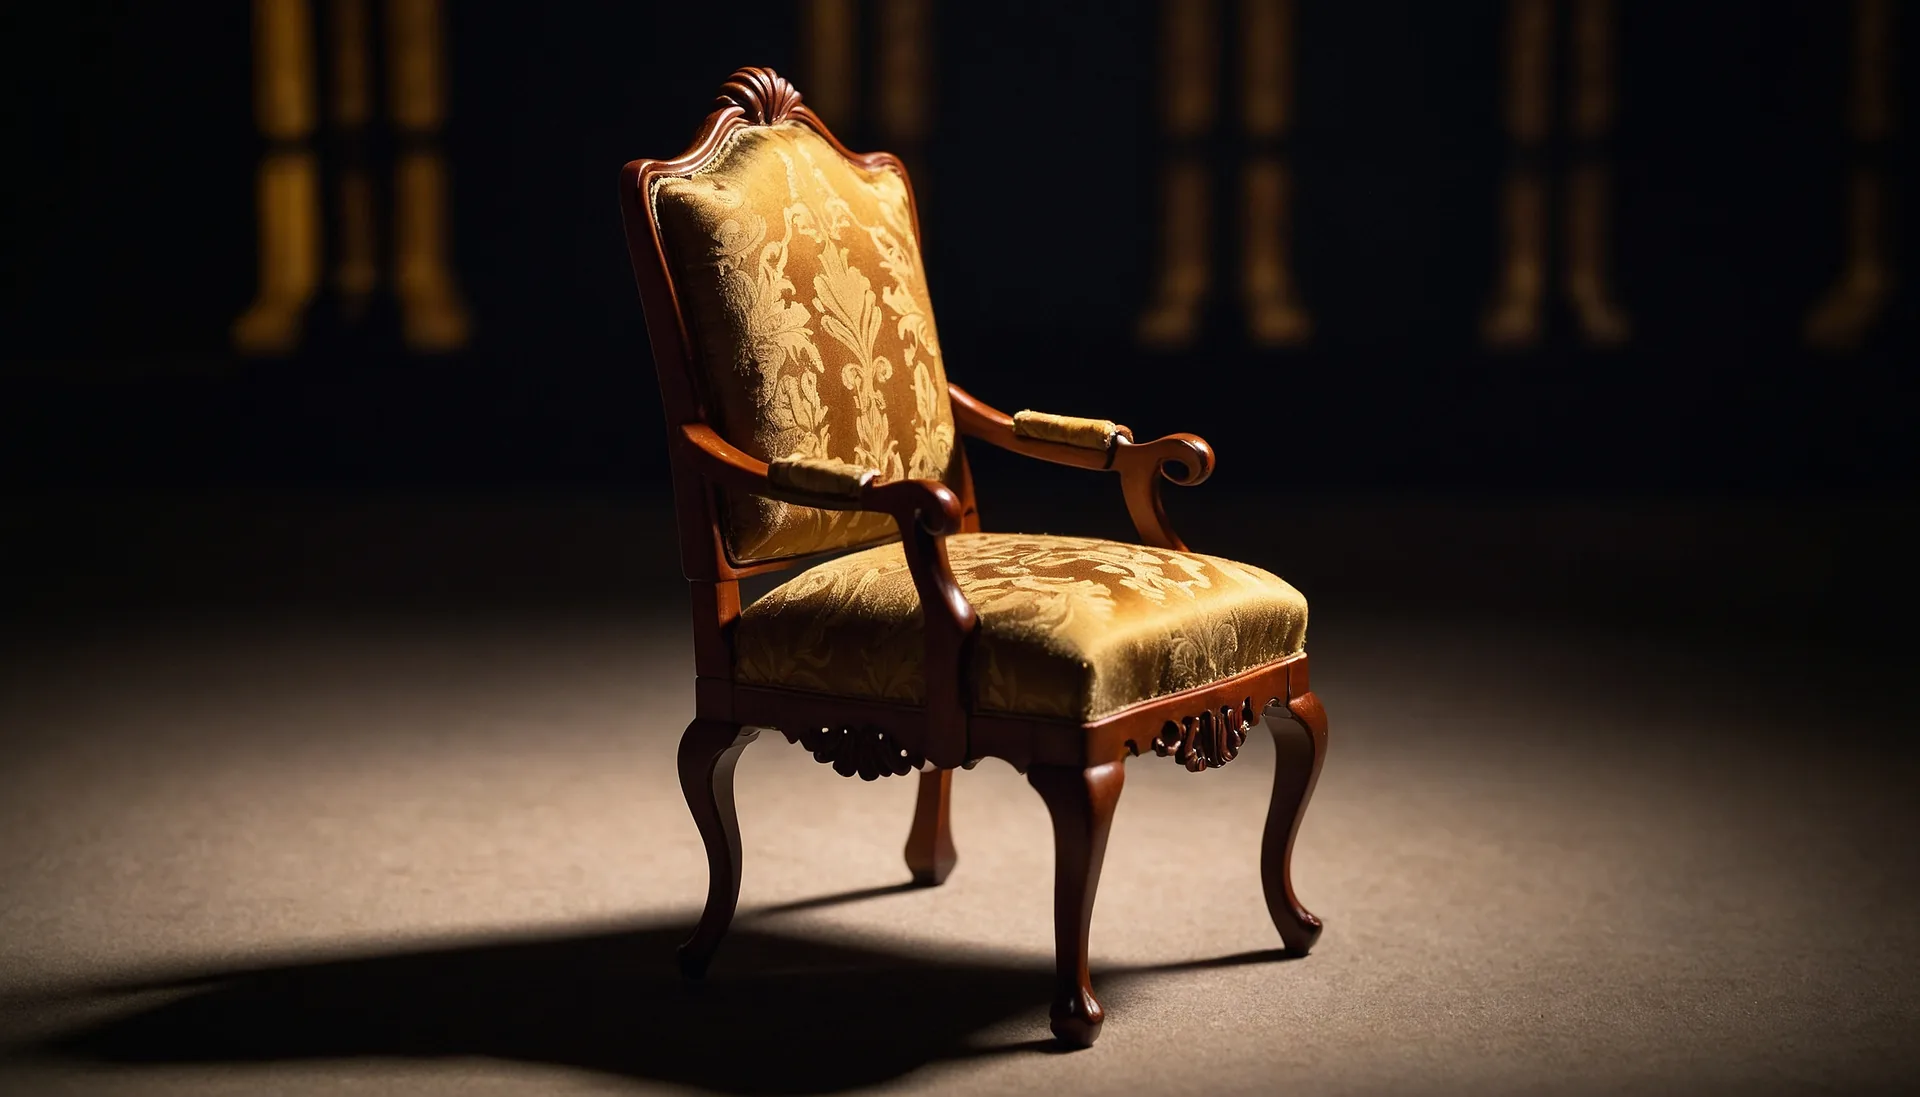
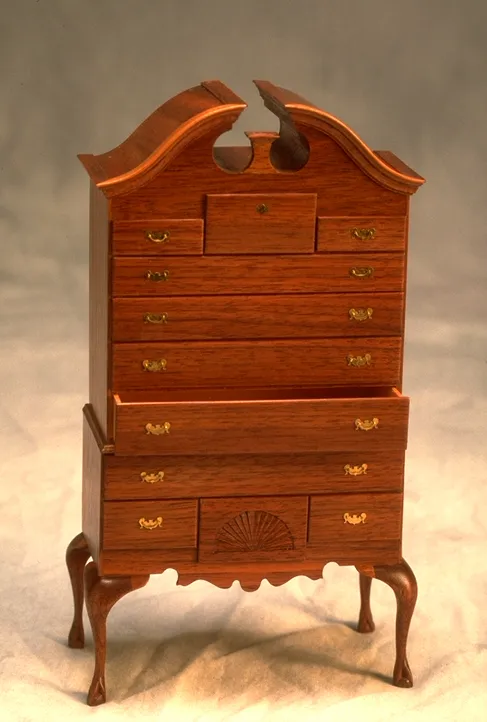
A beautifully constructed piece of miniature furniture can be ruined in seconds by a careless finish. Conversely, a thoughtful finish can elevate even a simple piece into something that glows with the warmth and depth of a real antique. Finishing is where many miniaturists struggle, and it is where I spend a disproportionate amount of my time. The results justify the effort.
Finishing at 1/12 scale presents challenges that full-size woodworkers never face. Every coat of finish adds thickness. On a full-size table, that thickness is negligible. On a miniature table, a coat that is a fraction too heavy can soften carved details, fill fine grain texture, and make the piece look dipped in plastic. The goal is always the thinnest possible film that still provides protection and visual depth.
Surface Preparation: The Foundation of Every Good Finish
No finish, no matter how skillfully applied, can compensate for poor surface preparation. At miniature scale, preparation demands even more attention than it does at full size.
Sanding Sequence
Begin with 220 grit sandpaper to remove tool marks and level surfaces. Progress through 320 grit and then 400 grit. For the finest work, particularly on dense woods like boxwood or maple, I continue to 600 grit. Each grit removes the scratches left by the previous one, producing a progressively smoother surface.
Always sand with the grain direction. Cross-grain scratches are visible under any transparent finish and are nearly impossible to remove once a finish has been applied.
Raising the Grain
Water-based stains and finishes raise the grain of wood, creating a rough texture on a surface you thought was smooth. Prevent this by deliberately raising the grain before your first finish coat. Lightly dampen the surface with a water-misted cloth, allow it to dry completely, and then lightly sand with 400 grit to knock down the raised fibers. Now when you apply a water-based product, the grain stays flat.
This step is not necessary if you are using exclusively oil-based finishes, but I recommend doing it regardless. It produces a noticeably smoother final result.
Inspecting Under Magnification
Before applying any finish, examine every surface under magnification in strong, raking light. Raking light, where the light source hits the surface at a low angle, reveals imperfections that overhead light hides. Look for scratches, dents, glue residue, and areas where the grain has torn during sanding. Fix these now. They will only become more visible under a shiny finish.
Staining
Staining allows you to change or enhance the color of wood, simulate aged patina, or make one species look like another. At miniature scale, staining requires a lighter touch than at full size.
Types of Stain
Water-Based Stains: These penetrate evenly and offer a wide range of colors. They dry slowly enough to allow blending and manipulation. The downside is grain raising, which you can mitigate with the pre-wetting technique described above.
Oil-Based Stains: These are easier to control because they dry more slowly, giving you more working time. They do not raise the grain. However, they can obscure fine grain details if applied too heavily, and cleanup requires solvents.
Alcohol-Based Dyes: My preferred staining medium for miniature furniture. Alcohol dyes penetrate deeply, dry quickly, and can be diluted to achieve very subtle color changes. They do not raise the grain or obscure detail. The rapid drying time means you need to work quickly and avoid overlapping wet edges, but with practice, the results are superior to other stain types.
Application Technique
Never apply stain with a full-size brush. The excess stain will flood into details and create uneven coloring. Instead, use a small artist’s brush (size 1 or 2) or a piece of cotton cloth wrapped tightly around a wooden stick. Apply a thin, even coat and immediately wipe away excess with a clean cloth.
For consistent color, especially on larger pieces, stain all components before assembly when possible. This ensures even coverage on surfaces that would be difficult to reach once the piece is together.
Building Color Gradually
It is always easier to add color than to remove it. Start with a diluted stain mixture and apply multiple thin coats, allowing each coat to dry completely before adding the next. This builds depth gradually and gives you control over the final tone. Two or three thin coats of diluted stain produce a richer, more nuanced color than a single heavy coat.
French Polish
French polishing is my finishing method of choice for the highest quality miniature furniture. It produces an incomparably deep, lustrous surface that seems to glow from within. The technique is centuries old, and it is perfectly suited to miniature work because it builds finish in microscopically thin layers.
What Is French Polish?
French polish is not a product you buy. It is a technique. The finish material is shellac, dissolved in denatured alcohol, applied with a pad called a rubber. The rubber is a wad of cotton wadding wrapped in a piece of lint-free cotton cloth. Shellac is loaded onto the inner wadding, and the cloth distributes it in thin, controlled passes across the surface.
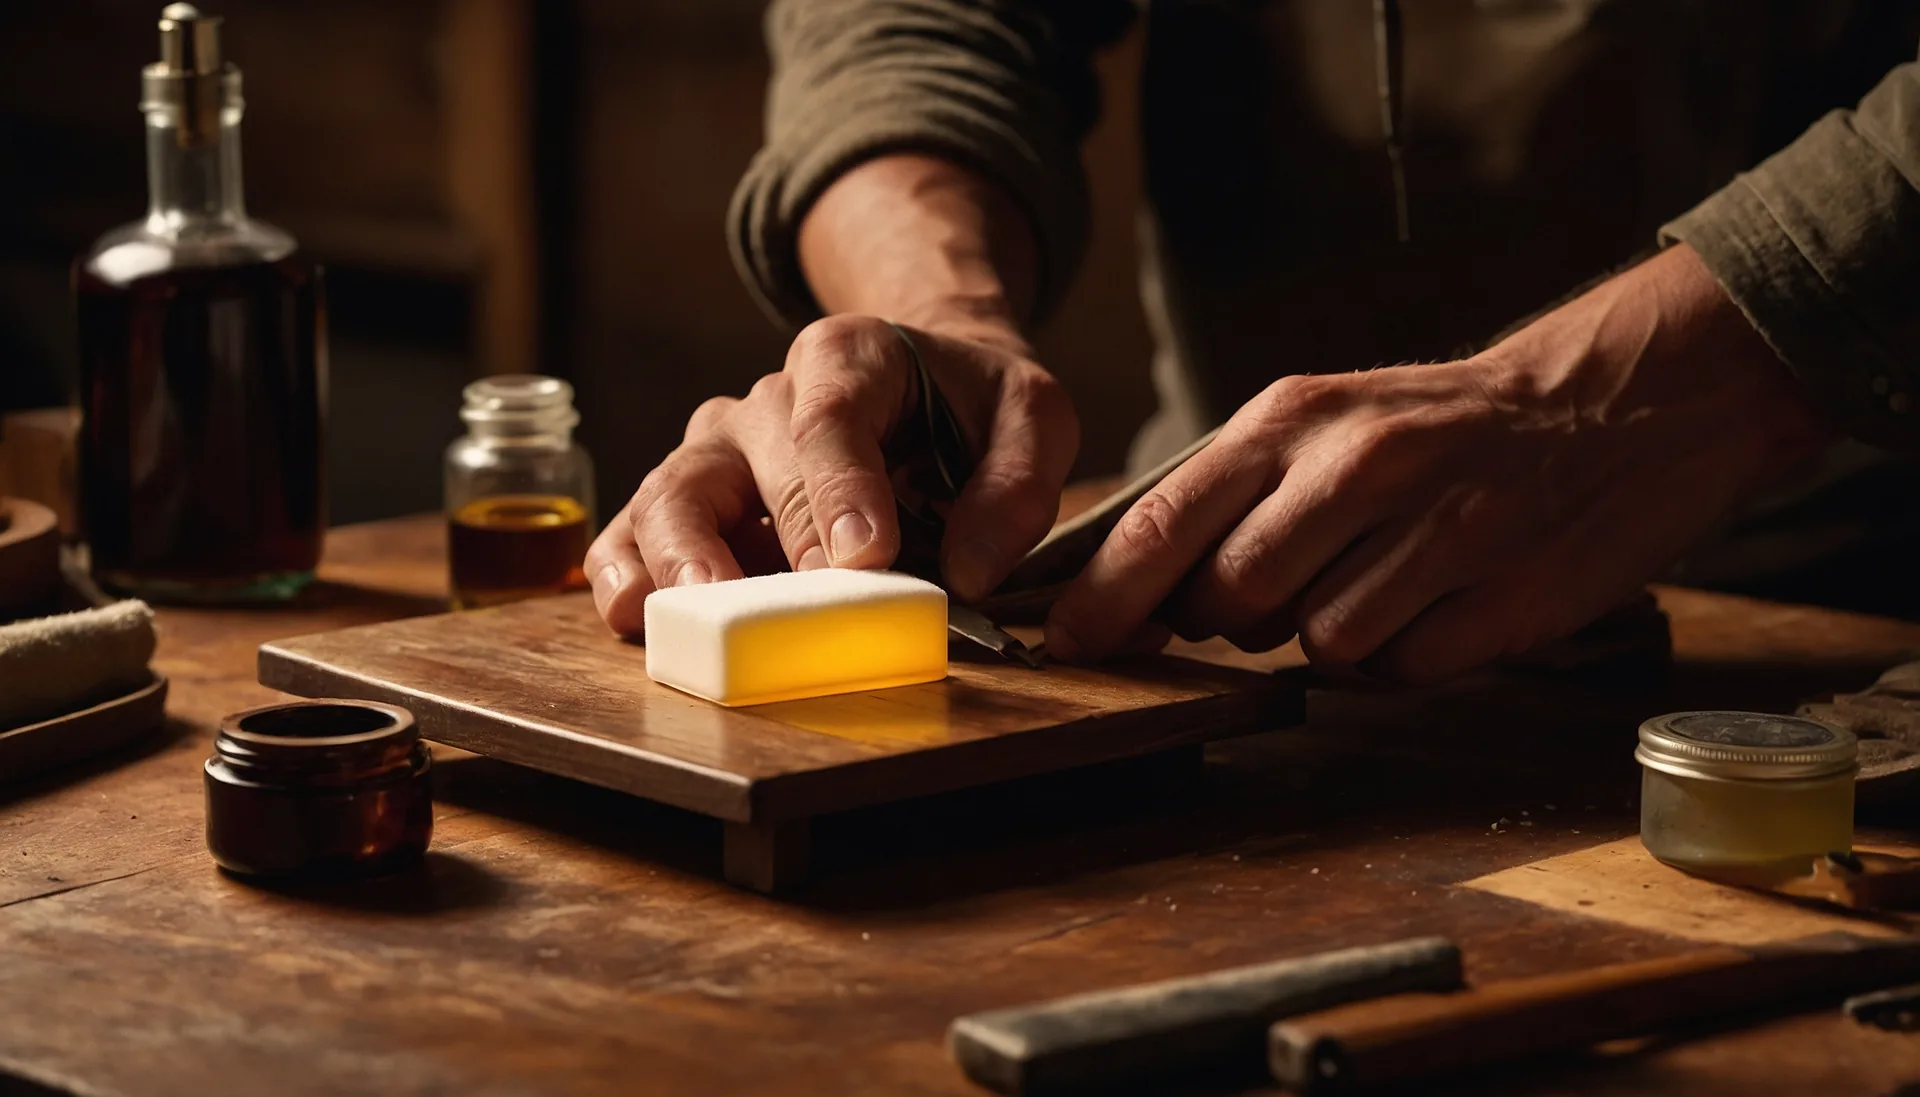
Making the Rubber
Tear off a piece of cotton wadding about the size of a walnut. Form it into a smooth, pear-shaped pad. Wrap it in a square of well-washed cotton fabric, pulling the fabric tight over the bottom to create a smooth, wrinkle-free sole. The rubber should fit comfortably between your thumb and fingers for miniature work. A full-size French polishing rubber is far too large.
The Process
Load the rubber by opening the cloth and applying a few drops of thin shellac (a one-pound cut works well for miniature work) to the wadding. Close the cloth and test on a scrap piece. The rubber should leave a barely visible wet trail that dries within seconds to a thin, glossy film.
Move the rubber across the surface in long, straight strokes along the grain. Never stop the rubber on the surface while it is wet. Always begin and end each stroke by sliding onto and off the edge of the workpiece. This prevents the rubber from sticking and pulling at the partially dried shellac.
Apply 10 to 15 passes, allow 30 minutes for the shellac to harden, and then apply another session of passes. For miniature furniture, three to five sessions typically build sufficient depth. Between sessions, lightly smooth the surface with 0000 steel wool or 1000 grit sandpaper to remove any dust nibs.
A Drop of Oil
Traditionally, a tiny amount of mineral oil is applied to the sole of the rubber to act as a lubricant, preventing the shellac from grabbing the surface. At miniature scale, use the smallest possible amount. Too much oil creates a hazy surface that requires additional work to remove. A single drop, spread across the cloth sole with your fingertip, is sufficient.
Spiriting Off
The final step in French polishing is called spiriting off. This removes any oil residue and brings the surface to its full clarity. Prepare a clean rubber with no shellac, add a small amount of denatured alcohol, and make light, rapid passes across the surface. The alcohol dissolves the surface oil and evaporates, leaving a crystal-clear, mirror-like finish.
Lacquer Finishing
For pieces where French polish is impractical, or where a more durable finish is needed, lacquer is an excellent alternative.
Spray Application
At miniature scale, brush-applied lacquer almost always produces a finish that is too thick and shows brush strokes. An airbrush is the solution. Set to low pressure, about 15 to 20 PSI, and use a fine needle. Thin the lacquer more than the manufacturer recommends. You want to apply a mist coat that barely wets the surface.
Apply three to five thin coats, sanding lightly between coats with 400 grit sandpaper once each coat has dried completely. The goal is a smooth, even film built up from multiple gossamer layers.
Rubbing Out
After the final lacquer coat has cured for at least 48 hours, rub the surface with 0000 steel wool followed by a paste wax. This removes the plastic-like sheen of raw lacquer and replaces it with a soft, warm luster that looks appropriate on furniture.
Wax Finishing
For a simple, natural look, a pure wax finish is hard to beat. It provides minimal protection but maximum warmth, and it is the easiest finish to apply at miniature scale.
Application
Apply a thin coat of good-quality paste wax with a soft cloth or a small brush. Allow the wax to haze, typically five to ten minutes, and then buff vigorously with a clean, soft cloth. The heat from friction helps the wax penetrate and produces a gentle sheen.
Two or three coats of wax, buffed between each coat, produce a beautiful low-luster finish that feels wonderful to the touch. Beeswax-based blends work particularly well on miniature furniture because they smell wonderful and produce a warm, amber tone that enhances the wood beneath.
When to Use Wax
Wax is ideal for pieces intended to replicate country or rustic furniture styles, for Shaker pieces, and for any miniature where you want the wood itself to be the star. It is not the best choice for pieces that will be handled frequently, as wax offers limited protection against moisture and fingerprints. For more heavily handled pieces, French polish or lacquer is more practical.
Oil Finishes
Tung oil, Danish oil, and other penetrating oil finishes have a place in miniature finishing. They enhance grain and color without building a surface film. The challenge at miniature scale is controlling the amount applied. A single drop of oil spread across a tabletop can be too much. Apply with a micro brush or a piece of cloth wrapped around a toothpick, and wipe away all excess immediately.
Finishing Safety
Many finishing materials contain volatile solvents and should be used with adequate ventilation. Shellac flakes are dissolved in denatured alcohol. Lacquer contains potent solvents. Even wax can release fumes during application. Please read my comprehensive safety guide for proper ventilation and respiratory protection practices in the miniature workshop.
Practice Makes Perfect
Finishing is a skill that improves dramatically with practice. Before applying any finish to a project piece, practice the technique on scrap wood of the same species. This lets you dial in stain color, finish thickness, and application rhythm without risking your hard work.
If you are just starting out with miniature furniture, my beginner’s guide recommends starting with a simple wax finish and graduating to more complex techniques as your confidence grows. Visit my gallery to see the quality of finish that these techniques produce on completed pieces.
The finish is the last thing you do and the first thing anyone sees. Invest the time to get it right.