
Miniature Woodworking for Beginners: Where to Start
A practical beginner's guide to miniature woodworking. Learn the mindset, first tools, starter projects, and common mistakes to avoid in small scale work.
Every miniature furniture maker I have ever met remembers the moment they decided to try this craft. For some it was seeing an exquisite dollhouse at a museum. For others it was picking up a tiny handmade chair and realizing a real person had built it with real joinery. Whatever your moment was, welcome. You are about to discover one of the most absorbing and rewarding forms of woodworking that exists.
I have been building miniature furniture for years, and I still learn something with every piece I make. The journey from curious beginner to confident craftsperson is one you can absolutely take, but it helps to start with the right expectations, the right tools, and the right first project. That is what this guide is about.
The Miniature Woodworking Mindset
Before we talk about tools and techniques, I want to address something more fundamental: how to think about this work.
Patience Is Not Optional
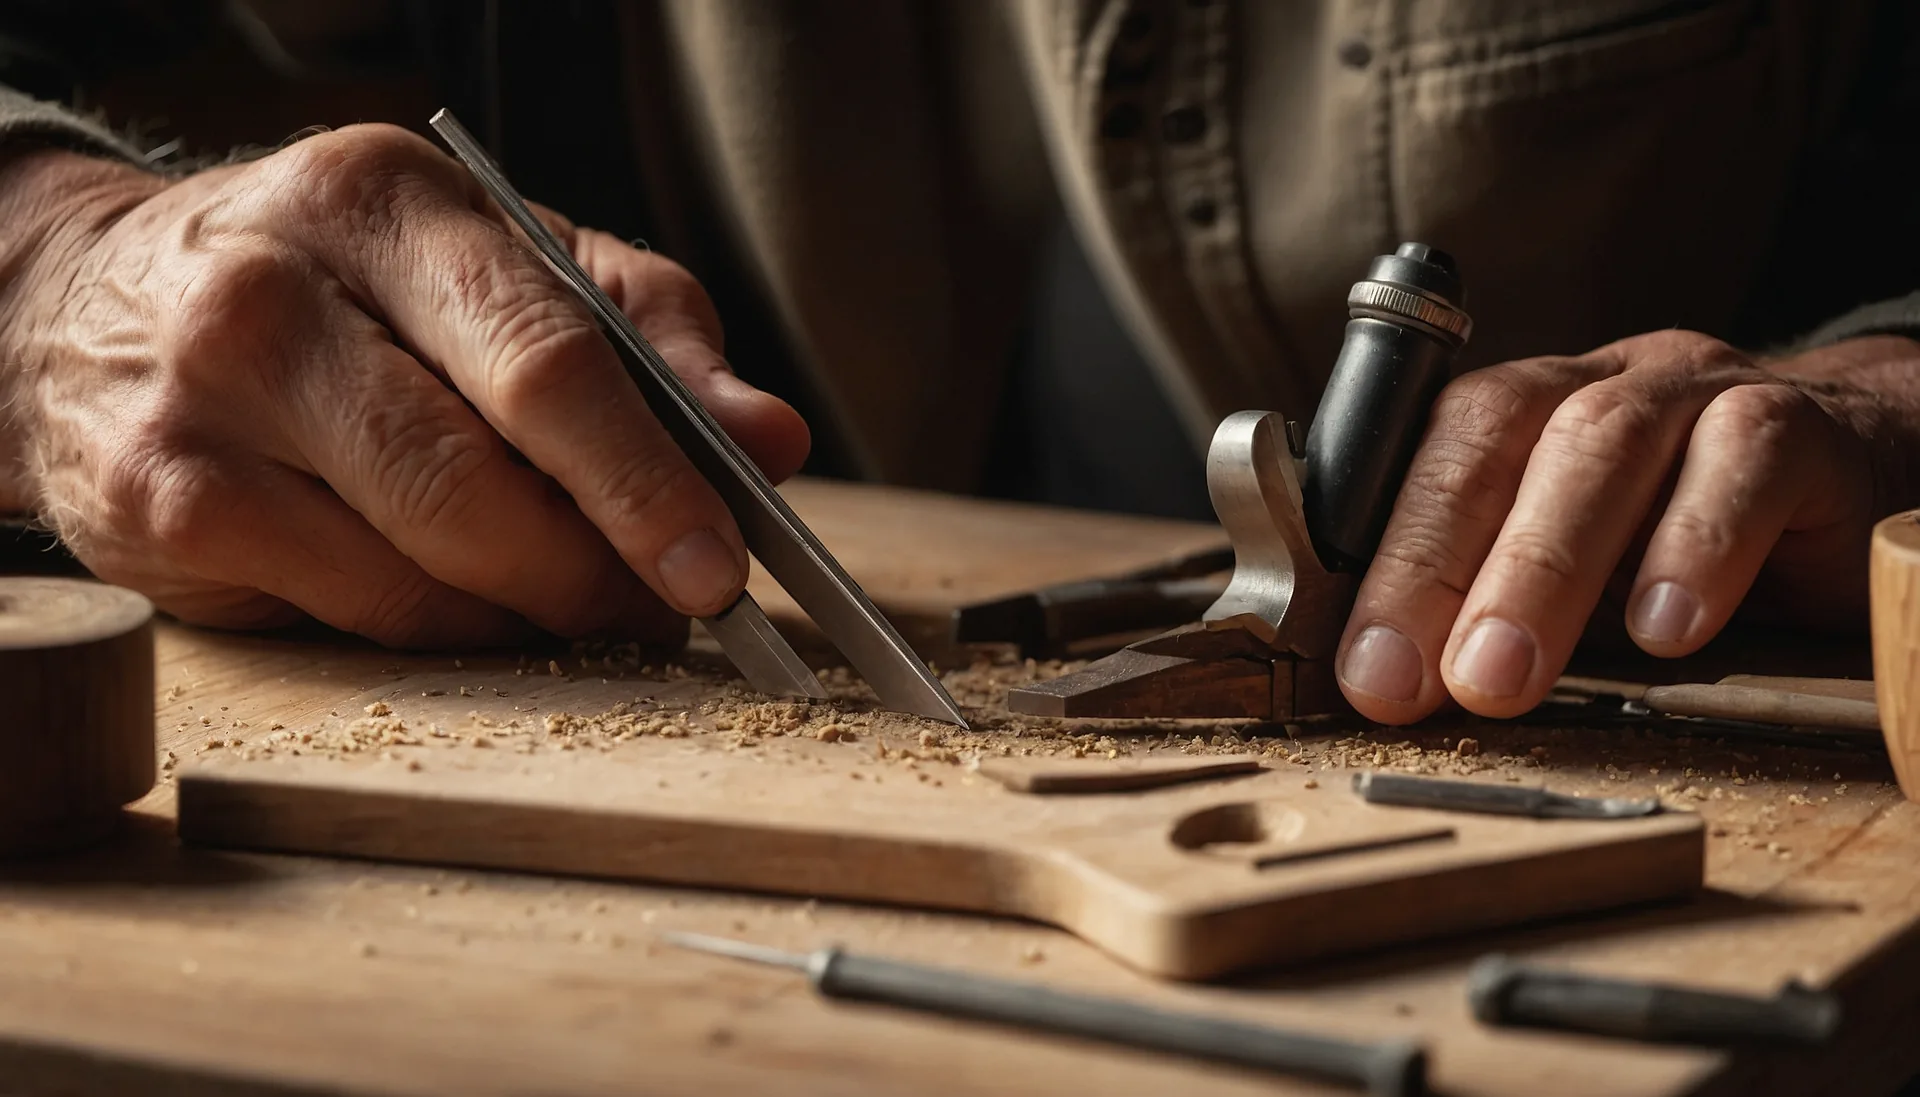
Full-size woodworking rewards patience. Miniature woodworking demands it. When you are cutting a tenon that is 5/64 inch wide, rushing leads to broken parts, wasted material, and frustration. The single most important skill you can develop is the willingness to slow down. Measure twice, cut once applies here more than anywhere else in woodworking.
Embrace Imperfection Early
Your first pieces will not be perfect. Mine certainly were not. A slight gap in a joint, a finish that is a little uneven, a leg that is a fraction too long. These are normal learning experiences. What matters is that you study each imperfection, understand what caused it, and adjust your approach for the next piece.
Think Like a Full-Size Cabinetmaker
The best miniature furniture looks convincing because the maker understands how real furniture is built. Study full-size joinery, proportions, and design principles. The more you know about how a real Shaker table is constructed, the better your miniature version will be.
Your First Tools
You do not need to invest heavily to get started. In fact, I recommend buying only what you need for your first project and expanding your toolkit as your skills grow. I have a comprehensive breakdown in my essential tools guide, but here is the starter set I recommend for absolute beginners.
Cutting Tools
- Jeweler’s saw with fine blades: This will be your primary cutting tool. Look for a saw frame that accepts blades with a depth of at least three inches. Start with 2/0 or 3/0 blades, which are fine enough for detailed work but forgiving enough for a beginner.
- Craft knife with fresh blades: A sharp craft knife handles trimming, scoring, and rough shaping. Replace blades frequently. A dull blade requires more pressure, which means less control.
Shaping and Fitting Tools
- Small needle files: A set of six to eight needle files in various profiles (flat, round, half-round, triangular) will handle most shaping tasks.
- Fine-grit sandpaper: Stock up on 220, 320, and 400 grit. You will use more sandpaper than you expect. I recommend cutting it into small strips and wrapping it around wooden blocks or dowels for controlled sanding.
Measuring and Marking
- Small steel ruler with fine markings: Accuracy starts with accurate measurement. A six-inch steel ruler with clear fine graduations is essential.
- Mechanical pencil (fine lead): A standard pencil line is too wide for miniature work. A mechanical pencil gives you the fine lines you need for precise layout.
- Small square: Even a two-inch engineer’s square will help you check that your cuts are perpendicular.
Holding and Clamping
- Pin vise or small hobby vise: You need something to hold your work. A pin vise that mounts to your bench gives you both hands free for cutting and shaping.
- Clothespins and small binder clips: These make surprisingly effective miniature clamps. Many experienced miniaturists keep a jar of them at the bench at all times.
Magnification
- Magnifying headband or desk magnifier: This is not optional. Working at 1/12 scale means working with details that are difficult to see clearly with the naked eye. A magnifying headband with interchangeable lenses lets you switch magnification levels as needed. I talk more about this in my workshop setup guide.
Choosing Your First Project
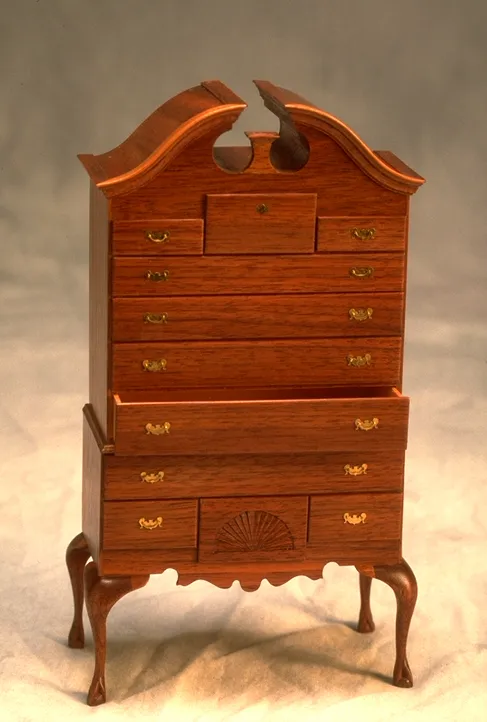
The temptation for every beginner is to jump straight to a complicated piece. A Chippendale highboy. A Windsor chair with steam-bent spindles. Resist that urge. Your first project should teach fundamental skills without overwhelming you.
The Simple Bench
I recommend starting with a basic Shaker-style bench. It has four legs, two stretchers, and a flat seat. No curves, no complex joinery, no moving parts. What it teaches you is invaluable.
- Accurate cutting: Every component needs to be cut to a precise length.
- Basic joints: The legs attach to the seat and stretchers with simple butt joints or tiny dowel joints.
- Squareness: A bench that does not sit flat on a table exposes errors immediately.
- Finishing: A bench gives you flat surfaces to practice staining and sealing.
The Small Table
Once you have built a bench, a simple table is a natural next step. A table adds the challenge of making four legs exactly the same length and attaching an overhanging top. It introduces you to proportional thinking. How thick should the top be? How far should it overhang? These decisions start training your eye for what looks right at 1/12 scale.
The Open Shelf
A basic open bookshelf or wall shelf introduces right-angle joinery and the challenge of keeping a wider piece square during assembly. It also gives you practice with multiple identical components, since all the shelves need to match.
Common Beginner Mistakes (and How to Avoid Them)
I have made every one of these mistakes myself, and I have watched students make them too. Learning from my missteps can save you time and material.
Using the Wrong Wood
Standard craft-store basswood is easy to cut, but it has a fuzzy grain that does not take stain well and looks unconvincing at 1/12 scale. For your first project, look for fine-grained hardwoods like cherry, maple, or pear. They cost a little more but the results are dramatically better. My post on choosing wood for miniature furniture covers this in depth.
Skipping the Dry Fit
It is tempting to glue parts together as soon as they are cut. Do not do this. Dry-fit every joint first. Check for gaps. Verify that the piece sits flat. Make adjustments while you can still take things apart easily. Once glue is applied, you have seconds to get things right.
Applying Too Much Glue
At this scale, a tiny drop of glue goes a long way. Excess glue squeezes out of joints and creates visible blobs that are difficult to remove without damaging the surrounding wood. Use a pin or toothpick to apply thin, controlled amounts of adhesive.
Neglecting Sanding Between Stages
Sand your components before assembly, not just after. It is much easier to get a smooth surface on an individual part than on an assembled piece where your sanding block cannot reach into corners. Start with 220 grit and work up to at least 400 grit before applying any finish.
Rushing the Finish
A beautiful piece of miniature furniture can be ruined by a careless finish. Apply thin coats. Allow adequate drying time between coats. Sand lightly between coats with very fine sandpaper or steel wool. Two thin coats of finish will always look better than one thick coat. I cover this topic thoroughly in my finishing techniques guide.
Building Good Habits From Day One
The habits you develop as a beginner will stay with you throughout your miniature woodworking journey. Here are the ones I consider most important.
Keep Your Work Area Clean and Organized
Tiny parts vanish into sawdust and clutter. Work on a clean surface, preferably a light-colored mat that makes small components visible. Develop a system for organizing parts. Small containers, labeled envelopes, or sectioned trays all work well. My workshop setup post has more on this topic.
Sharpen Your Tools Regularly
A sharp tool is a safe tool and a precise tool. At miniature scale, a dull blade tears wood fibers instead of cutting them cleanly, leaving rough surfaces that no amount of sanding will fully fix. Learn to sharpen your chisels and knives, and do it frequently.
Document Your Work
Take photographs of each project at different stages. Note what worked and what did not. Record which wood species you used and how they responded to different finishes. This journal becomes an invaluable reference as you take on more complex projects.
Study Other Makers’ Work
Visit miniature shows, follow miniaturists online, and study the pieces in my gallery. Pay attention to proportions, finish quality, and construction details. Training your eye is just as important as training your hands.
Where to Go From Here
Once you have completed a few simple projects and feel comfortable with basic cutting, shaping, and assembly, the entire world of miniature furniture opens up. You can explore traditional joinery techniques like dovetails and mortise and tenon joints. You can learn to scale down plans from full-size furniture you admire. You can experiment with different wood species and finishing methods.
The learning never stops, and that is what makes this craft so deeply satisfying. If you have questions as you get started, do not hesitate to reach out through my contact page. I remember what it was like to be a beginner, and I am always happy to help a fellow miniaturist find their footing.
Welcome to the bench.
Continue Your Journey
Related Articles
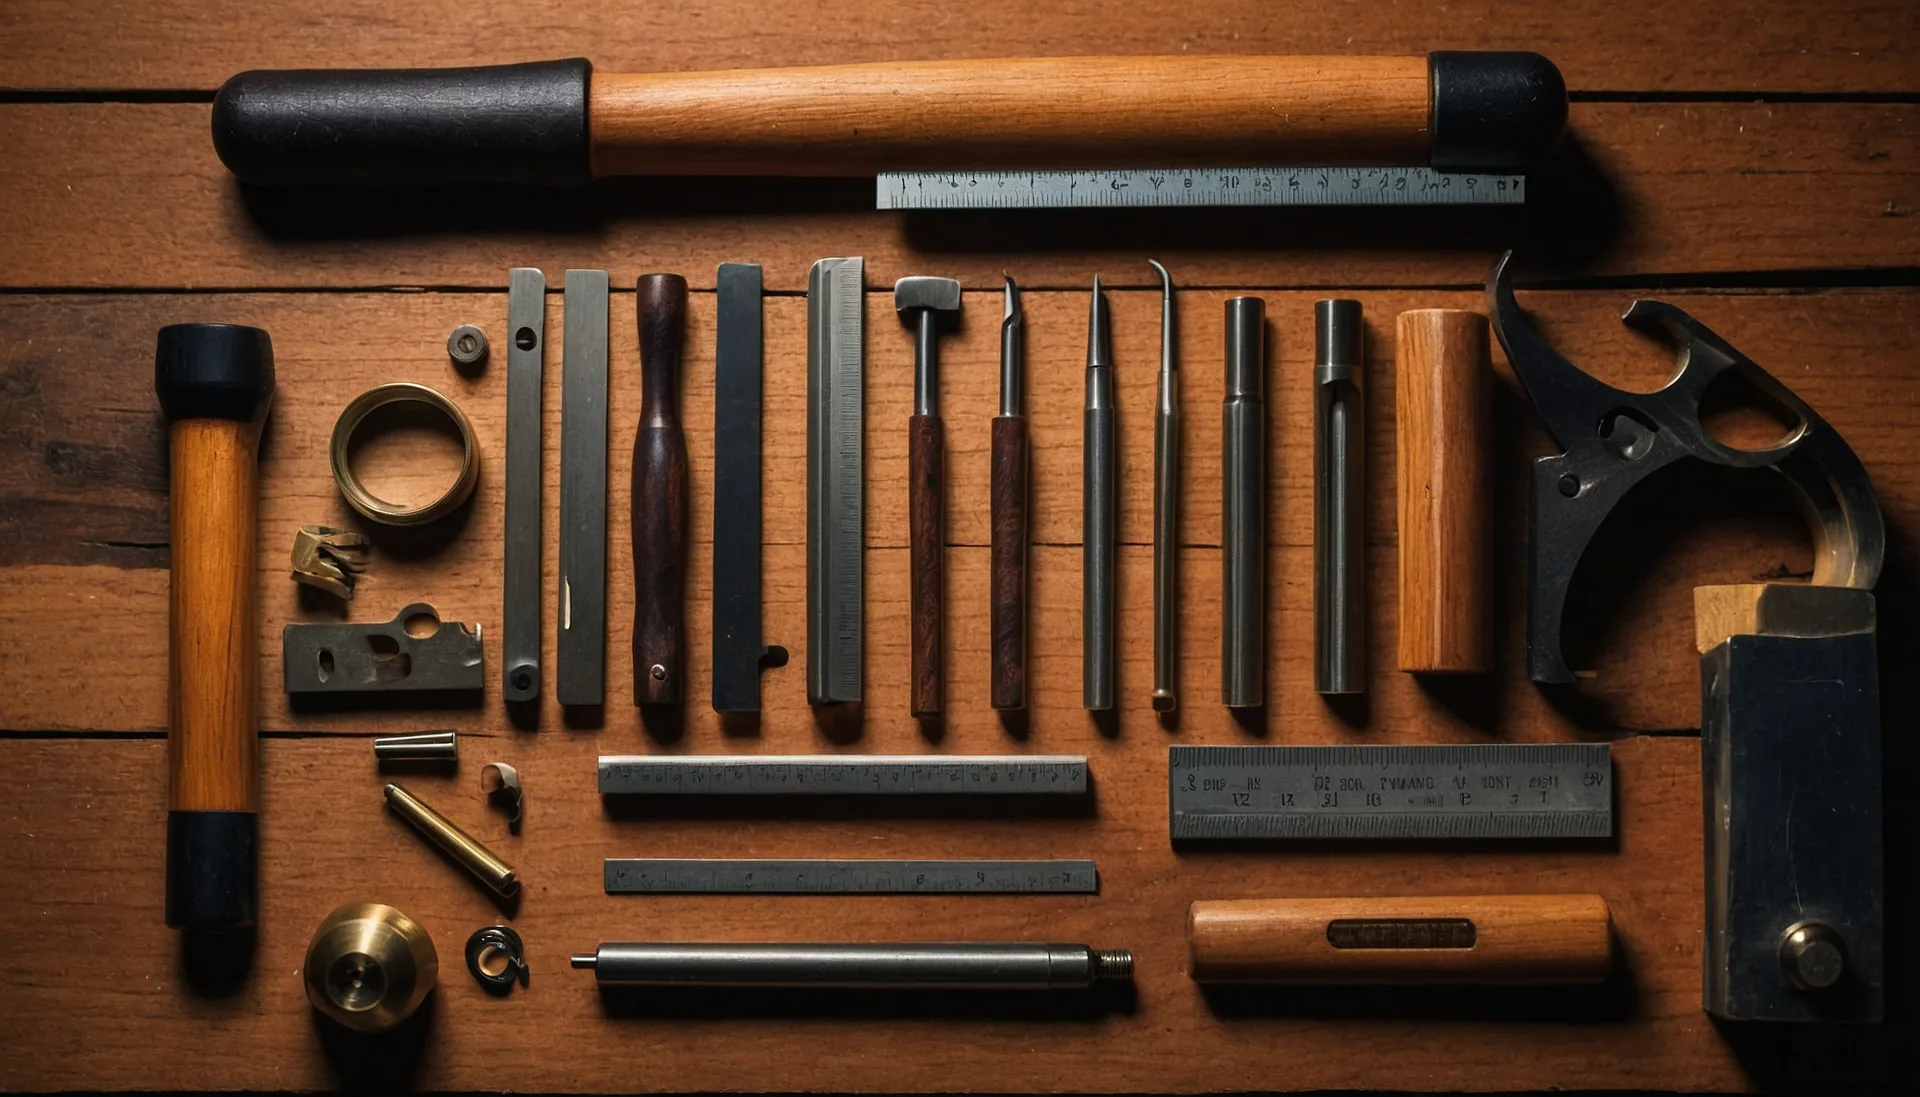
Essential Miniature Woodworking Tools Every Craftsman Needs
A complete guide to miniature woodworking tools, from micro chisels and jeweler's saws to magnification and finishing supplies for 1/12 scale furniture.

Miniature Tall Case Clocks: The Ultimate Challenge
Discover why miniature tall case clocks are the ultimate 1/12 scale woodworking challenge. Expert guide to case construction, dial faces, and finial turning.
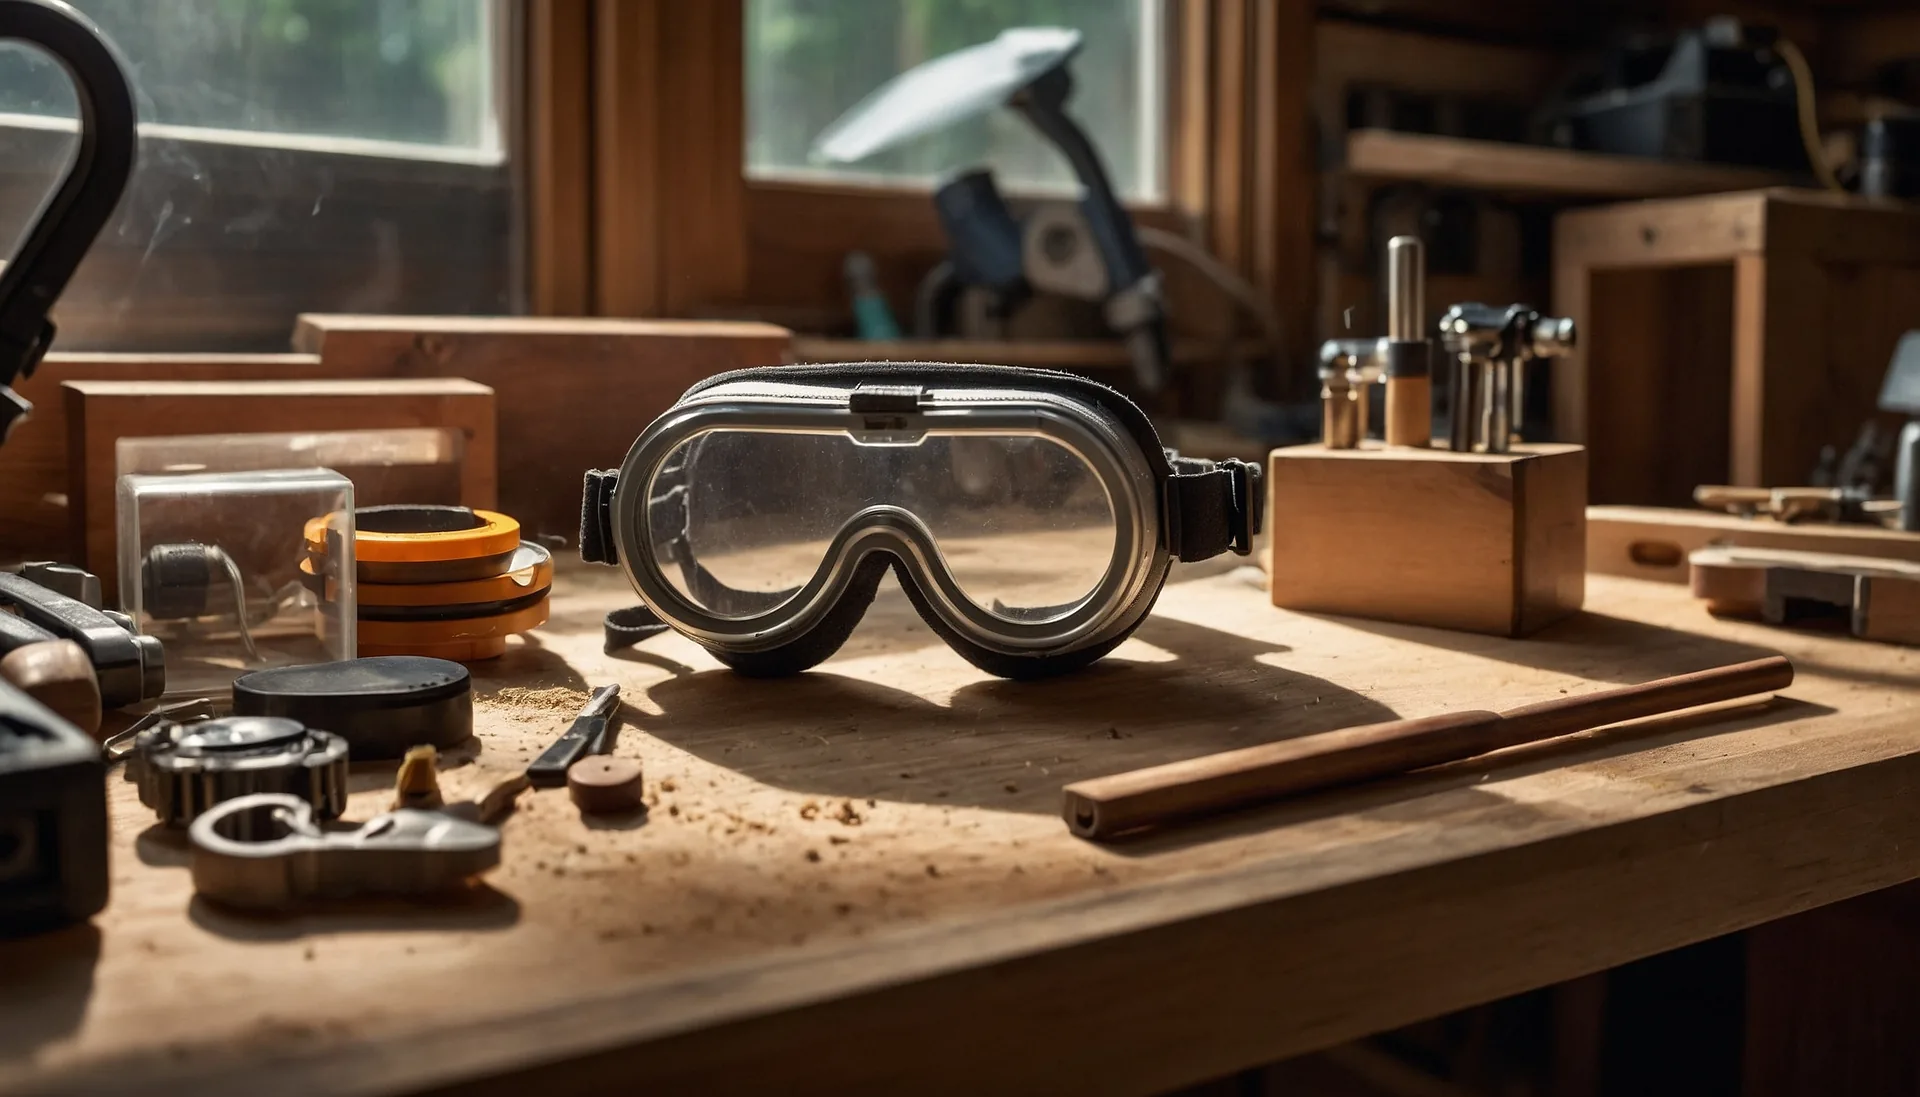
Miniature Woodworking Safety: A Comprehensive Guide
Stay safe in your miniature woodworking workshop. Essential safety tips for eye protection, dust hazards, sharp tools, ergonomics, and strain prevention.