
How to Scale Down Furniture Plans to 1/12 Scale
Step-by-step guide to converting full-size furniture plans to 1/12 scale miniatures. Learn the math, proportional adjustments, and grain scale tricks.
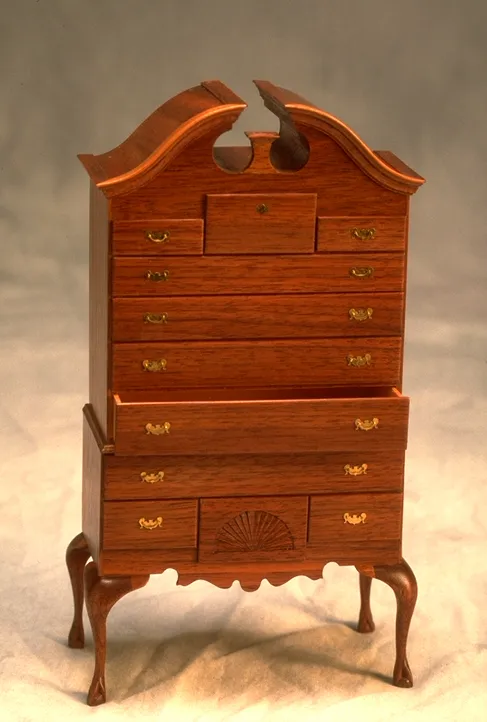
Every piece of miniature furniture I build begins with a full-size original. Sometimes it is a specific antique I have studied in a museum. Sometimes it is a design from a woodworking book or a measured drawing in a magazine. The challenge is always the same: how do you take something designed for the real world and translate it faithfully into 1/12 scale?
The math is simple. The art is not. If scaling down furniture plans were merely a matter of dividing every dimension by twelve, this post would be two paragraphs long. But the human eye perceives proportion, weight, and detail differently at small scales, and a truly convincing miniature requires deliberate adjustments that go beyond arithmetic.
Here is my complete process, from finding source material to producing a working miniature plan.
Step One: Find Your Source Material
Before you can scale anything down, you need accurate information about the original.
Measured Drawings
The ideal source is a measured drawing with complete dimensions. Woodworking books, furniture history references, and museum catalogs often contain detailed technical drawings with every dimension noted. These save you the guesswork and provide a solid mathematical foundation for your miniature version.
Photographs with Known Dimensions
If measured drawings are not available, photographs can work if you know at least one dimension of the original. A common approach is to use the standard seat height of 18 inches or the standard door height of 80 inches as a reference point, then calculate other dimensions proportionally from the photograph.
Direct Measurement
If you have access to the actual piece of furniture, take your own measurements. I carry a small tape measure and a notebook whenever I visit antique shops, estate sales, or museums that allow close examination. Note overall dimensions, component thicknesses, joint details, and any carved or shaped elements.
Step Two: The Basic Math
The core conversion is straightforward. For 1/12 scale, divide every real-world measurement in inches by 12.
Example: A Shaker Dining Table
| Dimension | Full Size | 1/12 Scale |
|---|---|---|
| Height | 30 inches | 2.5 inches |
| Top length | 72 inches | 6 inches |
| Top width | 36 inches | 3 inches |
| Leg cross section | 2.5 x 2.5 inches | 0.208 x 0.208 inches |
| Apron height | 5 inches | 0.417 inches |
| Top thickness | 1 inch | 0.083 inches |
I recommend doing all conversions in decimal inches and fractions. Working in fractions of an inch often gives you cleaner numbers to work with at miniature scale, and most precision measuring tools are calibrated in fine increments.
Step Three: The Adjustments That Make It Convincing
This is where experience separates competent miniatures from extraordinary ones. Certain elements of furniture design do not scale linearly, and a maker who simply divides by twelve without thinking will produce pieces that look slightly off without being able to explain why.
Edge Thickness
A one-inch tabletop divided by twelve gives you about 5/64 inch. Build it at exactly that thickness and it will look heavy and clunky. The reason is perceptual. At full size, your eye registers the tabletop edge as a thin line relative to the overall mass of the table. At 1/12 scale, that same proportional thickness reads as thicker than it should because your eye processes small objects differently.
I typically reduce edge thicknesses by 10 to 15 percent from the mathematically correct dimension. That 5/64 inch tabletop becomes about 1/16 inch, and suddenly it looks right. This is not a precise science. It is a judgment call refined by practice.
Moldings and Profiles
Complex molding profiles suffer the most during scaling. A full-size crown molding with three distinct curves and a fillet might be 4 inches tall, which converts to about 5/16 inch at 1/12. At that size, some of the subtle transitions between curves become indistinguishable. You need to simplify the profile slightly, emphasizing the dominant curves and reducing or eliminating the smallest fillets.
Think of it as translation rather than transcription. You are capturing the essence and visual impression of the molding rather than slavishly reproducing every mathematical curve.
Turned Elements
Legs, spindles, finials, and other turned components present unique scaling challenges. The major shapes, the beads, coves, and tapers, scale reasonably well. But the tiny transitional elements between major features often disappear entirely at 1/12 scale. A full-size turned leg might have a subtle fillet between a bead and a cove that is only an eighth of an inch wide. At 1/12 that becomes about 0.010 inch, which is essentially invisible and mechanically impossible to turn.
The solution is to slightly exaggerate the major features and eliminate the smallest transitional elements. The viewer’s eye fills in what it expects to see, and the overall impression of the turning reads as accurate even though the exact geometry has been simplified.
Joinery Proportions
A dovetail on a full-size drawer might have pins that are 3/8 inch wide and tails that are one inch wide. Scale that down and the pins become less than 1/32 inch wide, which is extremely difficult to cut and structurally fragile. Experienced miniaturists typically widen their pins slightly and reduce the number of dovetails per joint. A drawer that might have five dovetails at full size might have three in miniature, each slightly larger in proportion. The result looks more natural than attempting an impractically exact replication. My post on miniature joinery covers these adjustments in detail.
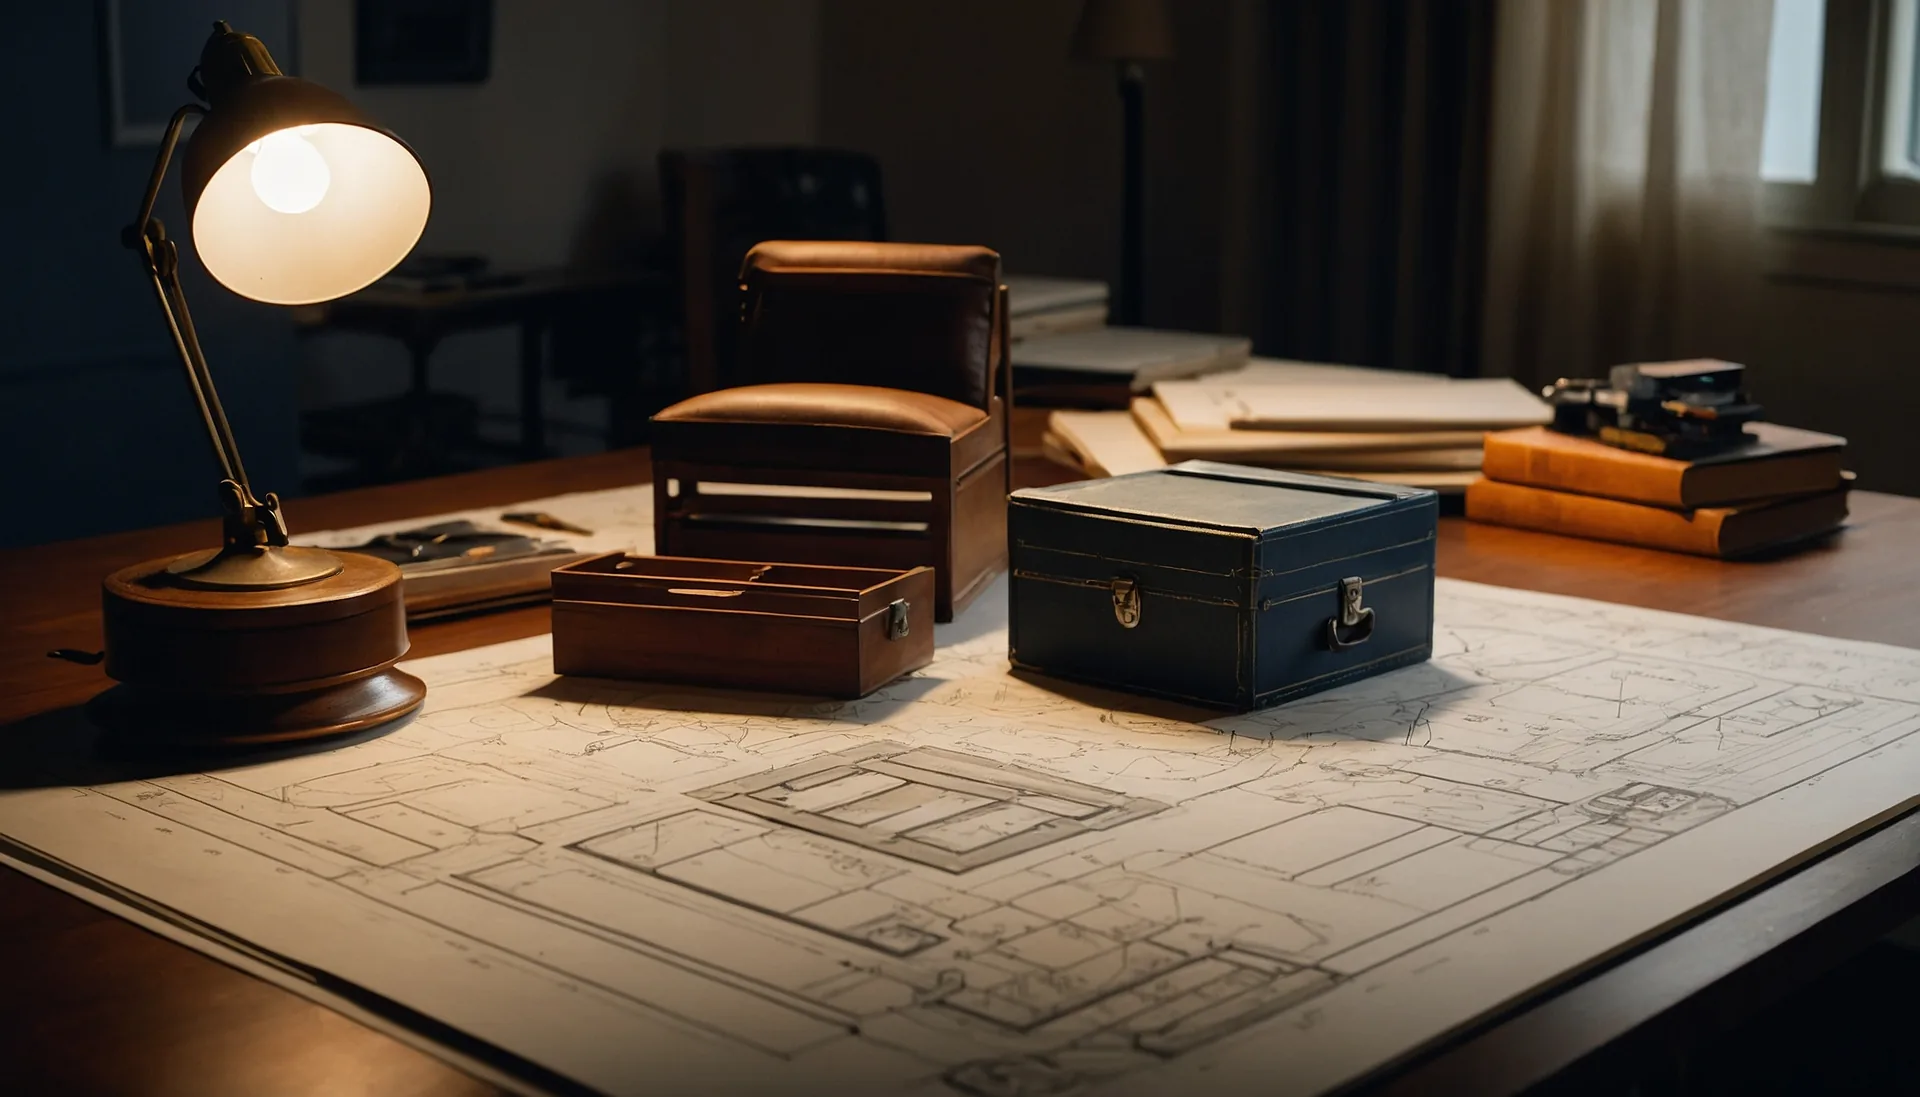
Step Four: Drawing the Miniature Plan
Once you have calculated your adjusted dimensions, it is time to produce a working plan.
Paper Plans at Actual Size
I always draw my miniature plans at 1:1 scale, meaning the drawing is the actual size of the finished piece. This allows me to check proportions visually and physically lay components on the drawing to verify fit. Graph paper with fine divisions makes this process straightforward.
Digital Plans
If you are comfortable with CAD software, drawing miniature plans digitally offers several advantages. You can zoom in to check fine details, print at any scale, and save plans for future reference. Even simple drawing programs work for the straightforward geometry of most furniture pieces.
Including Construction Notes
On every plan I note the wood species I intend to use, the grain direction for each component, the joint types, and the assembly sequence. These notes save time when I actually begin building and prevent mistakes that are easier to catch on paper than on the bench.
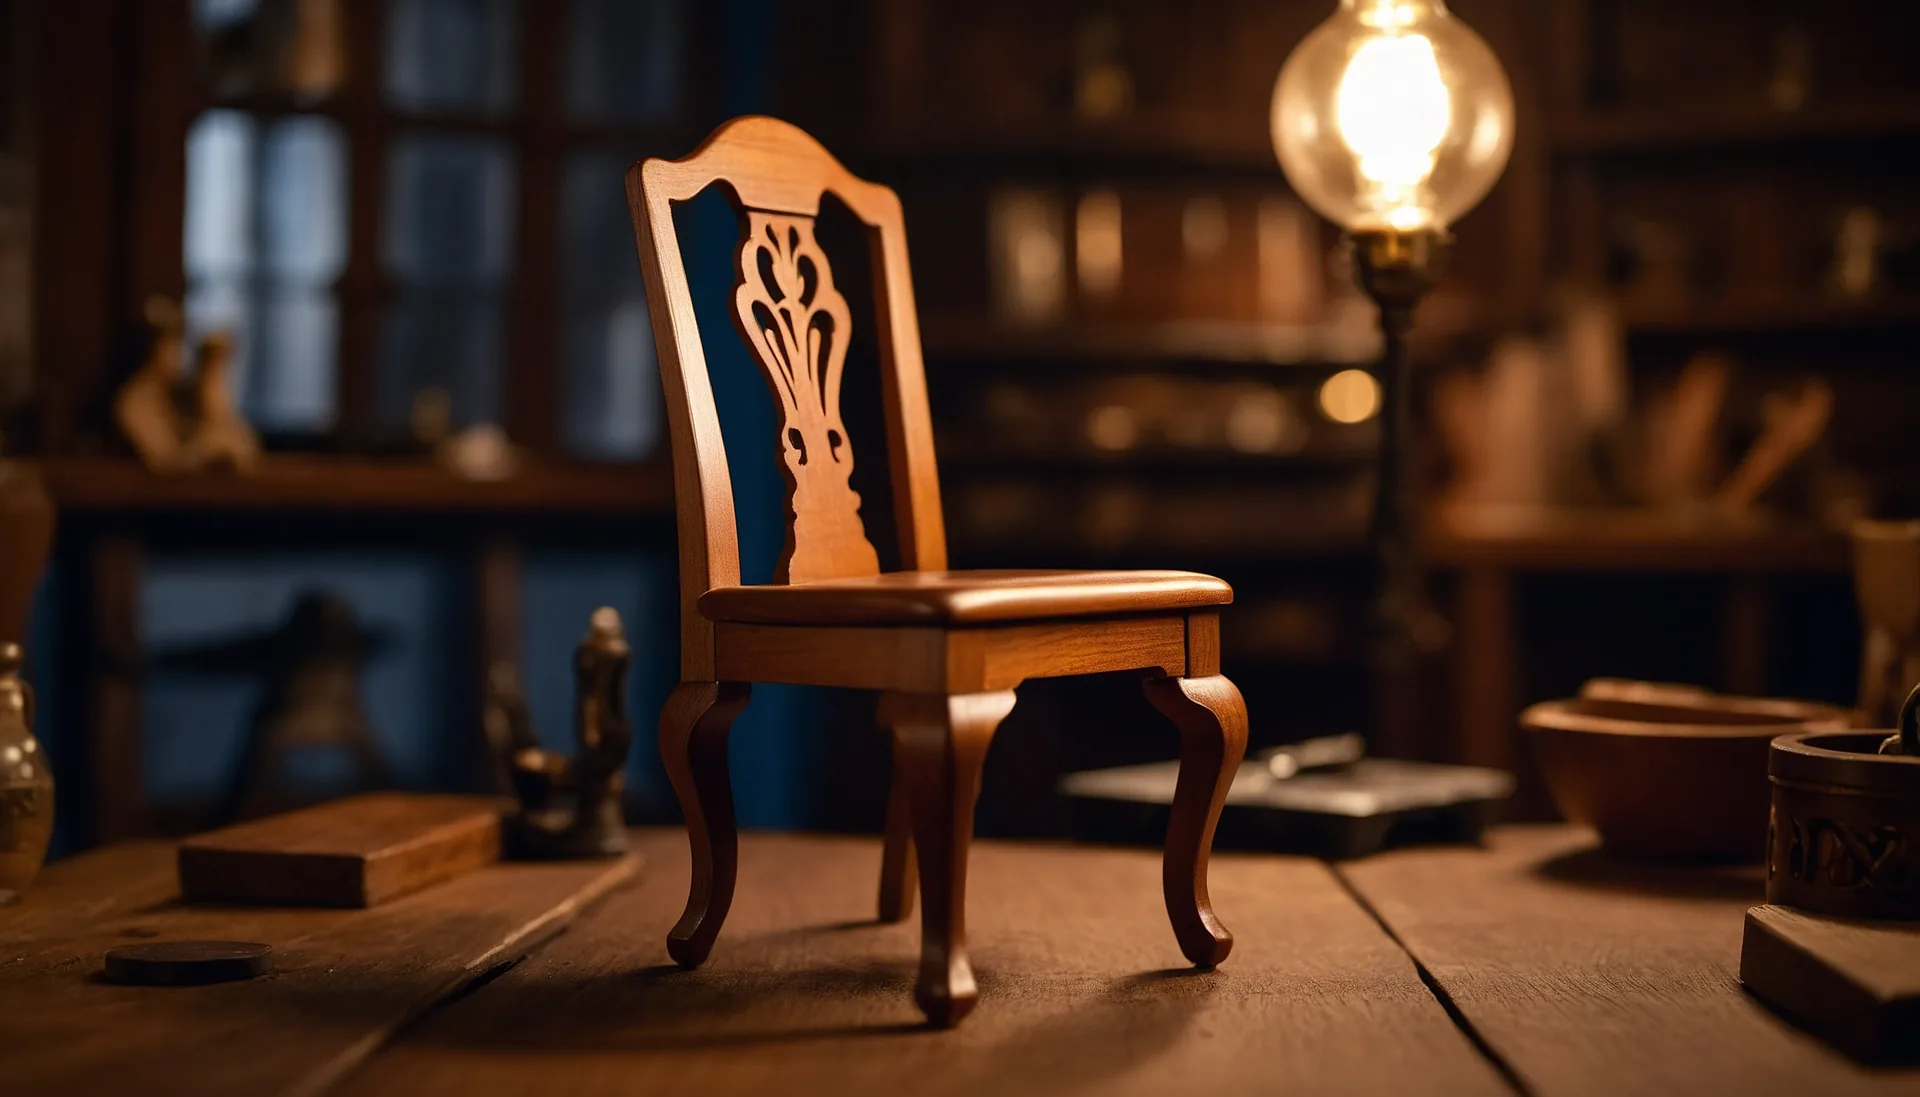
Step Five: Making a Prototype
For complex or unfamiliar designs, I strongly recommend building a prototype from inexpensive wood before cutting into your good stock. Basswood or scrap softwood works fine for prototypes because you are testing proportions, fit, and assembly sequence rather than final appearance.
A prototype reveals problems that even careful planning misses. A leg angle that looked correct on paper might not look right in three dimensions. A drawer might be too shallow to function properly. The overall proportions might need tweaking. Discovering these issues with scrap wood is far less painful than discovering them with that precious piece of boxwood or cherry.
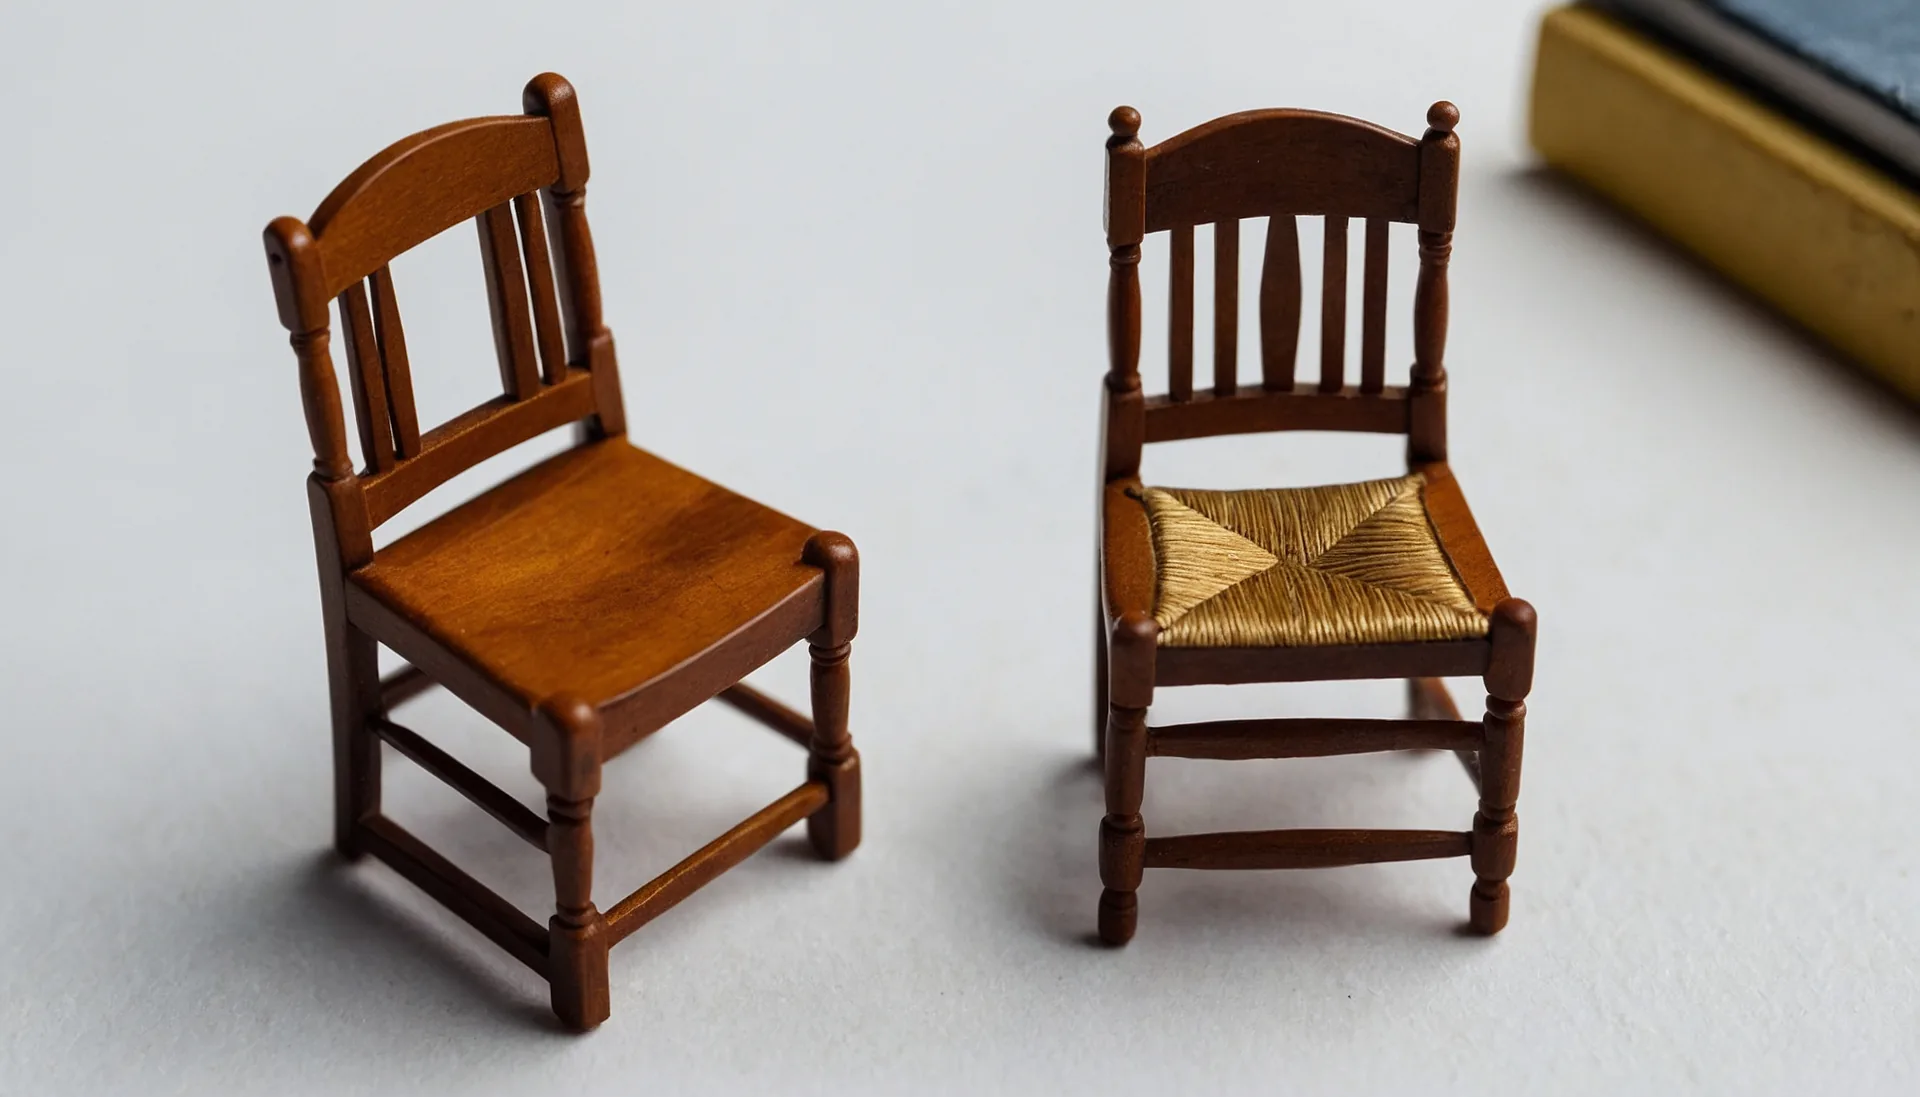
Step Six: Dealing With Grain Scale
This is arguably the most subtle challenge in scaling down furniture plans, and it deserves its own section.
When you reduce a piece of furniture to 1/12 scale, the grain pattern on the wood does not shrink with it. A piece of walnut at 1/12 scale still has full-size walnut grain. This means the apparent grain spacing on your miniature is twelve times too coarse relative to the piece it is supposed to represent.
Choosing Tight-Grained Wood
The primary solution is to select wood with the finest possible grain for each species. Within any given board of cherry, for example, there are areas of tighter and looser grain. Learning to identify and cut from the tightest-grained sections dramatically improves the realism of your miniatures.
Cutting Direction
The way you orient your cuts relative to the growth rings affects how the grain appears on the finished piece. Quarter-sawn cuts, where the growth rings intersect the face at roughly 90 degrees, produce the tightest possible grain appearance on flat surfaces.
Accepting the Limitation
Despite your best efforts, grain scale will never be perfect at 1/12. This is one of the inherent compromises of miniature furniture making, and it is one that every viewer unconsciously accepts. A well-crafted miniature with slightly overscale grain still reads as convincing because the human brain prioritizes shape, proportion, and finish over grain accuracy.
Common Scaling Mistakes to Avoid
After years of teaching workshops and examining student work, these are the errors I see most frequently.
Forgetting to Scale Hardware
Hinges, pulls, knobs, and escutcheons all need to be in scale. A drawer pull that is even slightly too large or too small disrupts the entire illusion. Either source commercial miniature hardware in the correct scale or make your own from brass wire and sheet.
Ignoring Wall Thickness on Case Pieces
The sides, top, and bottom of a bookcase or cabinet have thickness. If your boards are too thick relative to the miniature, the piece will look chunky and overbuilt. If they are too thin, it will look flimsy and will be structurally weak. Finding the right balance is critical.
Neglecting the Underside
On full-size furniture, the underside of tables and the backs of cabinets are often unfinished or roughly finished. On miniature furniture, every surface is visible at some point during handling and display. Finish the underside and the back as carefully as the visible surfaces.
Putting It All Together
Scaling down furniture plans is a skill that improves with every project. Your first conversion will feel uncertain. Your tenth will feel intuitive. The process trains your eye to see furniture differently, to break complex forms into measurable components and reassemble them at a new scale.
If you are just getting started, choose a simple piece with straight lines and minimal ornamentation for your first scaling exercise. A basic Shaker bench or table is ideal. As your confidence grows, tackle increasingly complex designs. Before long, you will walk through an antique shop and automatically calculate the 1/12 scale dimensions of every piece that catches your eye.
For more on the tools and techniques you will need to bring your scaled plans to life, explore my guides on essential tools and finishing techniques. And visit my gallery to see how scaled-down plans become finished miniature furniture.
Continue Your Journey
Related Articles
The Complete Guide to 1/12 Scale Miniature Furniture
Learn everything about 1/12 scale miniature furniture, from how measurements work to why this scale became the global standard for dollhouse collectors.
Understanding Dollhouse Scales: 1:12, 1:24, and 1:48
A comprehensive guide to dollhouse scales including 1:12, 1:24, and 1:48. Learn the differences, pros and cons, and which scale is right for your project.