
Miniature Tall Case Clocks: The Ultimate Challenge
Discover why miniature tall case clocks are the ultimate 1/12 scale woodworking challenge. Expert guide to case construction, dial faces, and finial turning.
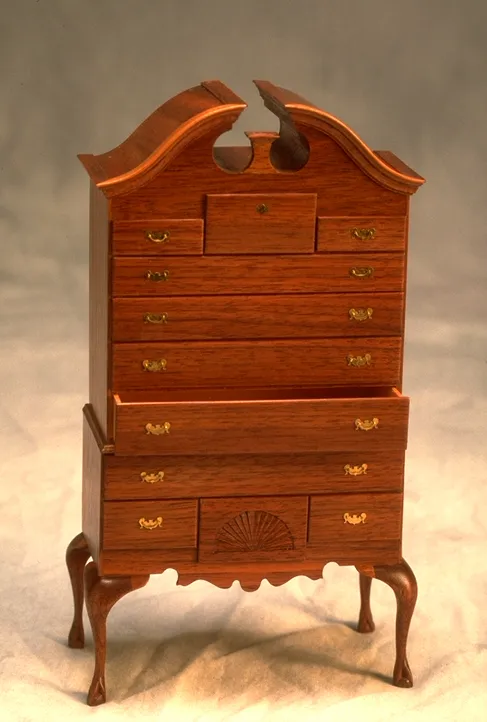
Among miniature furniture makers, the tall case clock holds a special status. It is widely regarded as the most demanding project you can undertake in 1/12 scale. The combination of thin case construction, working doors with tiny hinges, a detailed dial face, delicate finial turning, precise proportions, and the integration of multiple furniture styles into a single vertical piece makes it a comprehensive test of everything you know.
I have built tall case clocks that took longer than any other single piece in my career. And I have learned more from the process than from almost anything else I have done. In this article, I want to explain why these clocks are so challenging, walk through the major elements of construction, and share the techniques that have worked for me.
Why the Tall Case Clock Is the Ultimate Test
A tall case clock, also known as a grandfather clock or longcase clock, is not just a piece of furniture. It is architecture in miniature. At full scale, these clocks stand six to eight feet tall and incorporate elements of case furniture, cabinetmaking, wood turning, metalwork, and applied decoration. At 1/12 scale, the finished clock stands roughly 6 to 7 inches tall and perhaps 1 to 1-3/16 inches wide. Within that slender footprint, you must build a fully realized piece with a hood, a waist, a base, a door, a dial, and decorative elements appropriate to the period.
The proportions are critical. A tall case clock that is even slightly too wide looks squat and loses its distinctive vertical elegance. One that is too narrow appears unstable. The transitions between the three main sections, hood, waist, and base, must be carefully handled with appropriate moldings and offsets. Getting all of this right within fractions of an inch of tolerance is what makes the project so demanding.
Anatomy of a Miniature Tall Case Clock
The Base
The base provides the visual foundation for the clock and typically features bracket feet or, in earlier examples, turned bun feet. The base case is a simple rectangular box, usually about 1-3/16 to 1-3/8 inches tall at 1/12 scale, with applied moldings at the top and a plinth at the bottom.
I build the base case from hardwood stock approximately 1/16 inch thick. The corners are mitered and glued, or joined with tiny dovetails for the most authentic work. Bracket feet are cut from slightly thicker stock and shaped with a jeweler’s saw to the appropriate ogee profile. I attach them to the bottom of the case with glue and small internal blocks.
The Waist
The waist is the tall, narrow middle section that houses the pendulum and weights in a full-scale clock. At 1/12 scale, the waist is a slender rectangular box roughly 2-3/4 to 3-1/2 inches tall and about 11/16 to 3/4 inch wide. It has a door on the front, historically used to access the pendulum, which is often glazed to show the movement behind it.
Building the waist case requires thin, straight stock and careful attention to squareness. The walls are typically 1/32 to 1/16 inch thick, which makes them fragile during construction. I reinforce the inside corners with tiny strips of wood glued along the joints.
The waist door is one of the most challenging individual elements. At this scale, the door might be only 5/8 inch wide and 2-3/8 inches tall. It needs to be perfectly flat, properly proportioned, and ideally functional, opening and closing on tiny hinges. I build the door frame from thin strips mitered at the corners and glue a thin panel or piece of clear acetate (to simulate glass) into the frame from the back. The hinges are made from the smallest commercially available brass hinges, typically around 3/16 inch long, mortised into the case side and door edge.
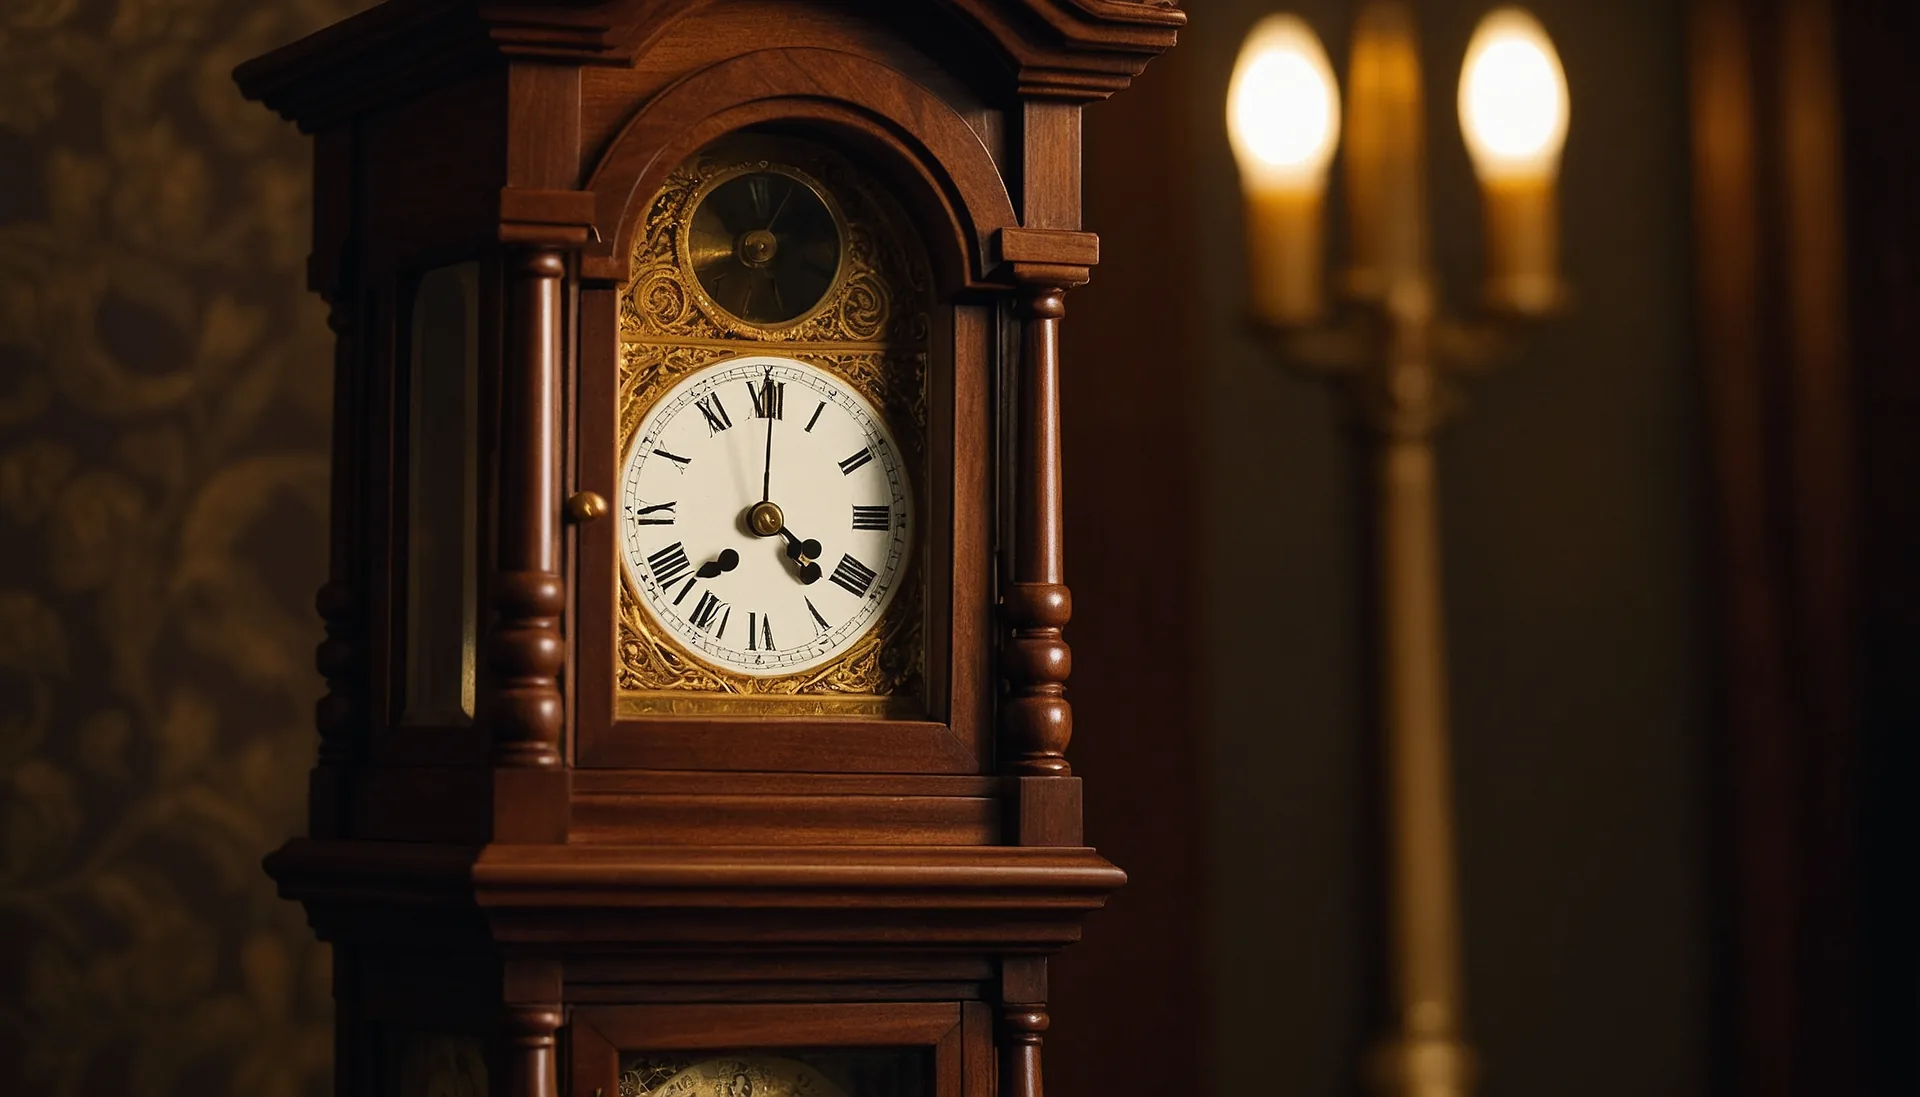
The Hood
The hood sits atop the waist and houses the clock dial. It is the most visually complex section, typically featuring columns flanking the dial opening, a broken pediment or arched top, and turned finials. The hood often slides forward on runners to allow access to the clock movement.
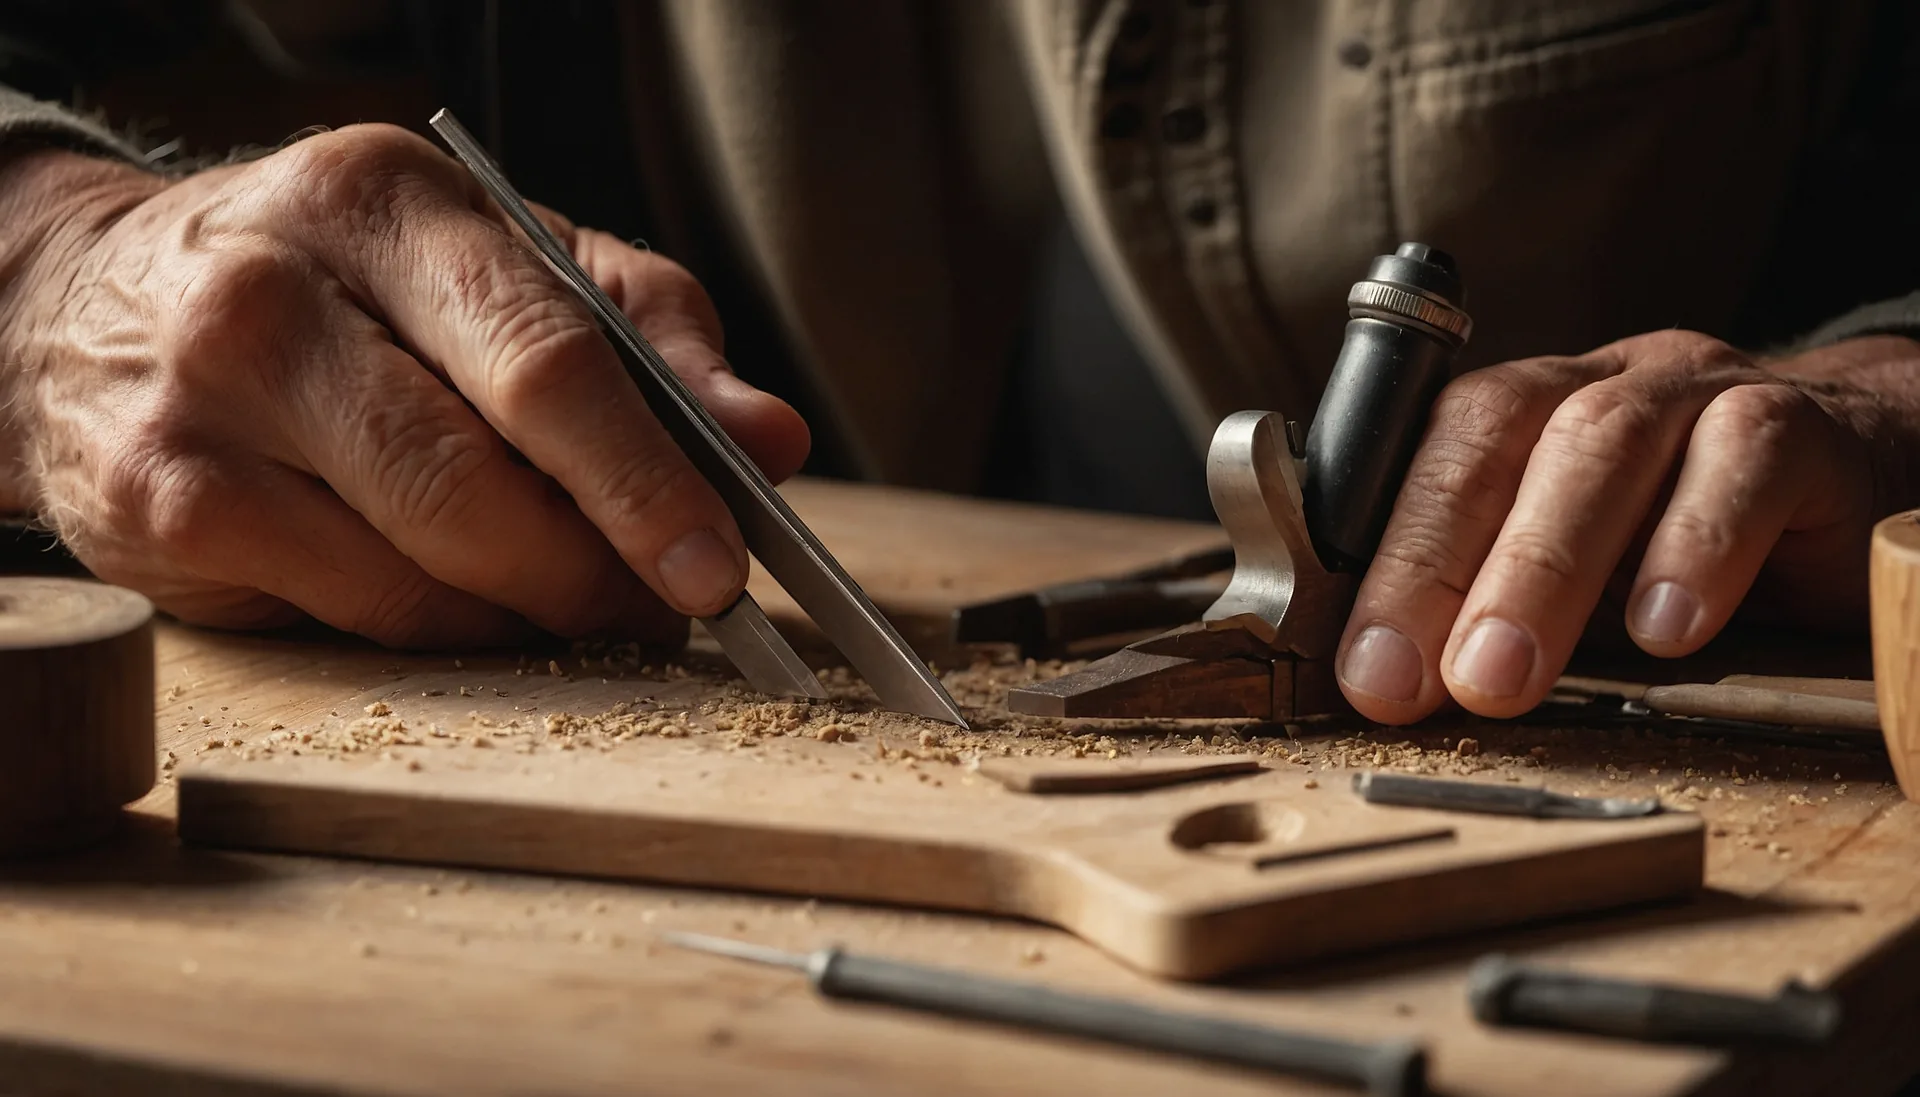
At 1/12 scale, making the hood slide might be impractical, but I still build it as a separate component for ease of construction. The basic hood case is a rectangular box that overhangs the waist slightly on all sides. Columns, usually freestanding quarter-columns at the front corners, are turned on the lathe from blanks about 5/64 inch in diameter. These tiny turnings require extreme care and very sharp tools.
The top of the hood determines the character of the clock. An arched top with a simple molded cornice suits a Queen Anne period clock. A broken pediment with carved rosettes and flame finials is appropriate for a Chippendale example. The broken pediment construction follows the same principles I describe in my highboy guide, just at an even smaller scale.
Creating the Dial Face
The dial is the face of the clock, and it must be convincing at 1/12 scale despite being only about 1/2 to 5/8 inch in diameter or width. There are several approaches to creating miniature clock dials, and the right choice depends on the level of detail you want to achieve and the period you are representing.
Painted Dials
For painted dials, common on later eighteenth and nineteenth-century clocks, I use a small disc of thin brass or copper sheet as the base. I prime it with a thin coat of white enamel paint, then paint the chapter ring, numerals, and decorative elements with an extremely fine brush under magnification. Roman numerals for the hours and Arabic numerals for the minutes are standard. The hands are cut from thin brass sheet and shaped with files.
Engraved Brass Dials
Earlier tall case clocks feature brass dials with engraved or applied chapter rings and spandrel ornaments. At 1/12 scale, I simulate this by using a disc of polished brass with painted or printed details applied over it. True engraving at this scale is theoretically possible but requires specialized equipment and extraordinary skill.
Printed Dials
For many miniaturists, a high-quality printed dial is a practical and attractive option. I have created detailed dial artwork on a computer, printed it at high resolution on quality paper, and glued it to a rigid backing. When framed by the hood opening and protected behind a tiny piece of clear acrylic simulating glass, a printed dial can be remarkably convincing.
Finial Turning
The finials that crown a tall case clock are among the tiniest turned elements you will encounter in miniature work. A flame finial for a Chippendale clock hood might be only 1/4 to 5/16 inch tall. A ball-and-spire finial for a Federal period clock is similarly small.
I turn these on my miniature lathe from blanks of dense hardwood, usually boxwood. The blank is mounted in a small collet chuck to hold it securely, and I turn the basic profile with the finest tools in my kit. For a flame finial, the spiraling flame detail is carved by hand after turning, using a sharp knife and working under magnification.
Consistency matters here as with other turned elements. A bonnet-top clock typically has three finials, one central and two flanking, and they must match. I turn all three in succession, measuring constantly with a dial caliper.
The Importance of Proportions
I cannot overstate how critical proportions are in a miniature tall case clock. The relationship between the base height, waist height, and hood height determines whether the clock looks graceful or awkward. Similarly, the width of each section, and the amount of offset between them, must follow historical precedent or the eye immediately senses something is wrong.
I always work from measured drawings of actual antique clocks, scaled mathematically to 1/12. I draw the front elevation at full miniature size on paper and pin it up at my workbench as a constant reference. Throughout construction, I hold the developing piece against the drawing to check that I am staying on track.
The golden ratio appears frequently in well-proportioned tall case clocks, and I find it helpful to check that the major divisions of the clock approximate these harmonic relationships. The waist is typically the tallest section, the hood somewhat shorter, and the base the shortest. When these proportions are right, the clock has a natural visual rhythm that communicates quality even before you examine the details.
Movement Options
A full-scale tall case clock contains a substantial mechanical movement. At 1/12 scale, incorporating a working movement is theoretically possible using tiny quartz mechanisms, but I generally do not. The visual impact of a miniature tall case clock comes from its case, its dial, and its decorative elements, not from functional timekeeping.
That said, I sometimes install a tiny non-working pendulum that swings freely behind the waist door, which adds a charming touch of realism. This is simply a thin brass rod with a small disc at the bottom, suspended from a pin at the top of the waist case.
Finishing
Tall case clocks were typically finished in dark, rich tones. Mahogany, walnut, and cherry were common woods, and the finished surfaces were often quite dark with a deep gloss. I finish my miniature clocks with thin shellac, sometimes over a light wash of pigmented stain to deepen the tone. Multiple coats, rubbed smooth between applications, build up the depth and luster that suits these formal pieces.
Some tall case clocks, particularly those from the Federal period, feature contrasting inlay work on the case. String inlay and shell or fan paterae on the waist door or base panel add considerable visual interest and are hallmarks of the finest examples. This is exacting work at 1/12 scale but achievable with patience and sharp tools.
Taking the Challenge
If the tall case clock interests you, I suggest building one only after you have experience with simpler case pieces. A miniature highboy is excellent preparation because it involves many of the same skills: case construction, drawer building, leg shaping, and broken pediment work. A clock adds the dial, the waist door with hinges, and the demanding vertical proportions, but the underlying techniques overlap significantly.
Visit my gallery to see examples of clocks and other advanced pieces. And if you have questions about any aspect of clock construction, do not hesitate to reach out through my contact page. These projects are challenging, but they produce pieces that stand, quite literally, above everything else in a miniature collection.
Continue Your Journey
Related Articles
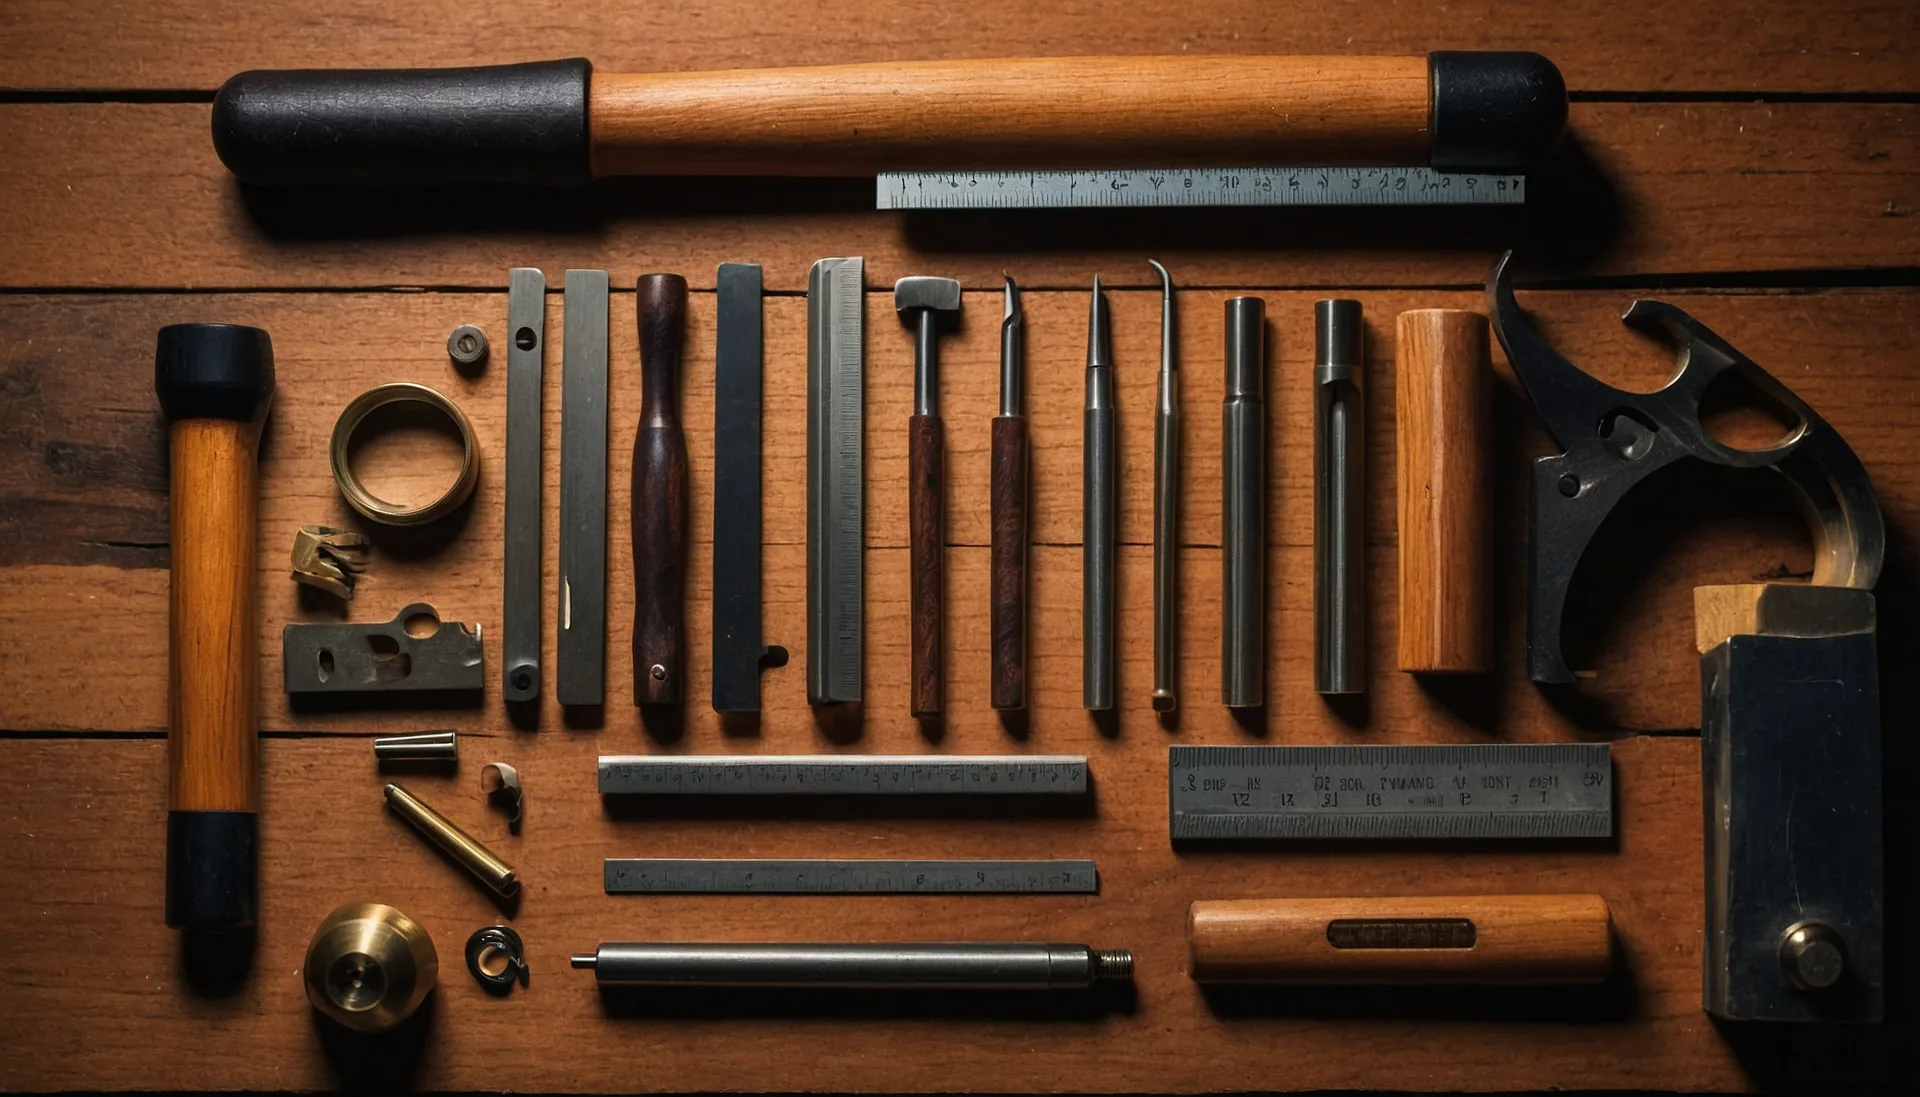
Essential Miniature Woodworking Tools Every Craftsman Needs
A complete guide to miniature woodworking tools, from micro chisels and jeweler's saws to magnification and finishing supplies for 1/12 scale furniture.
Miniature Woodworking for Beginners: Where to Start
A practical beginner's guide to miniature woodworking. Learn the mindset, first tools, starter projects, and common mistakes to avoid in small scale work.

Miniature Woodworking Safety: A Comprehensive Guide
Stay safe in your miniature woodworking workshop. Essential safety tips for eye protection, dust hazards, sharp tools, ergonomics, and strain prevention.