
The Art of the Miniature Highboy: A Maker's Guide
Complete maker's guide to building a miniature highboy at 1/12 scale. Learn leg turning, drawer construction, and broken pediment techniques step by step.
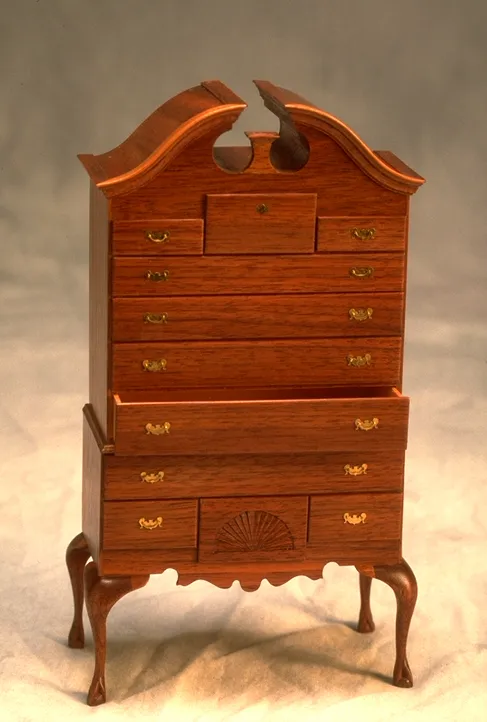
The highboy stands as one of the most ambitious and visually commanding forms in American furniture. A tall chest of drawers raised on a graceful base with cabriole legs, the highboy combines case construction, leg shaping, drawer building, and decorative carving into a single demanding project. Building one at 1/12 scale is a rite of passage for serious miniature furniture makers. It tests virtually every skill in your repertoire.
In this guide, I want to break down the anatomy of the miniature highboy, walk through the major construction challenges, and share the approaches I have developed through building these pieces over many years. This is not a step-by-step set of plans, but rather a maker’s perspective on how to think about and approach this extraordinary furniture form.
Historical Context
The highboy, more formally known as a high chest of drawers, originated in the late seventeenth century and reached its peak during the Queen Anne and Chippendale periods in the mid-eighteenth century. The form was particularly beloved in the American colonies, where makers in Philadelphia, Boston, and Connecticut developed distinctive regional interpretations.
Philadelphia highboys are perhaps the most celebrated. They feature richly carved shells on the upper and lower cases, ball-and-claw feet, and elaborate broken pediment tops with carved rosettes and flame finials. Connecticut examples are known for their cherry construction and distinctive carved sunburst motifs. New England highboys tend toward more slender proportions with pad feet and simpler crests.
Understanding these regional variations is important for the miniaturist because they affect every design decision. A Philadelphia Chippendale highboy demands extensive carving. A Queen Anne New England example requires elegant simplicity. The style you choose determines the skills you will need.
Anatomy of a Highboy
A highboy consists of two main sections: the upper case and the lower case (or base). Let me describe each component.
The Upper Case
The upper case is essentially a tall chest of drawers. It contains anywhere from four to seven drawers of varying depths, arranged from shallow at the top to deeper at the bottom. The sides, top, and bottom are joined with dovetails at full scale. The back is typically a set of horizontal boards nailed into rabbets.
At 1/12 scale, the upper case is roughly 3 to 3-3/8 inches tall and about 1-9/16 inches wide. I construct the case from sheets of hardwood approximately 1/16 inch thick. I join the corners with tiny dovetails when I want maximum authenticity, though a carefully glued butt joint with internal reinforcement also works at this scale since the structural demands are minimal.
The crown molding at the top of the upper case, and the bonnet or pediment if present, sits above the drawer stack. For a flat-top highboy, this is a simple cornice molding shaped with files. For a bonnet-top piece, this becomes one of the most complex elements of the entire project, which I will address below.
The Lower Case
The lower case serves as the base and typically contains one to three shallow drawers. It rests on four cabriole legs connected by shaped aprons. The apron profiles are one of the most visually distinctive elements of the highboy and vary significantly by region and period.
The legs emerge from the corners of the case and splay slightly outward, giving the base a sense of stability and grace. The transition from squared post at the top of each leg to the curved cabriole profile below is critical to get right. At 1/12 scale, each leg is roughly 1-3/8 to 1-9/16 inches long.
The Connection
The upper case simply sits on top of the lower case, located by small pins or blocks that prevent it from sliding. This knockdown construction was practical for moving full-size highboys through doorways and up stairs. In miniature, I typically use small brass pins or wooden dowels for alignment, with the weight of the upper case holding everything together.
Step-by-Step Construction Overview
Starting with the Legs
I always begin a highboy with the legs because they set the character of the entire piece. For a Queen Anne highboy, I shape cabriole legs with pad feet as described in my Queen Anne guide. For a Chippendale piece, the legs receive ball-and-claw feet and carved knees.
I make the legs from a single species of tight-grained hardwood, most often boxwood, pear, or cherry. Each leg starts as a squared blank roughly 1/4 by 1/4 by 1-9/16 inches. I mark the cabriole profile on two adjacent faces, cut the waste with a jeweler’s saw, and then carefully shape the curves with files and sandpaper. It is essential to make all four legs at the same time, constantly comparing them to ensure they match in profile, proportion, and stance.
Building the Lower Case
With the legs shaped, I build the frame of the lower case around them. The case sides and back are thin panels that connect the legs at their squared upper portions. I typically use a simple mortise-and-tenon joint here, cutting tiny mortises into the inner faces of the leg posts and fitting the case panels into them.
The apron pieces, the shaped boards that span between the legs across the front and sides, are cut to their decorative profile with a jeweler’s saw. A classic Queen Anne apron features a gentle arch, sometimes with a central drop pendant. I shape these separately, then glue them in place between the legs.
Drawer dividers within the lower case are thin strips that separate the drawer openings. These are critical for visual accuracy and structural integrity.
Drawer Construction
A highboy contains many drawers, sometimes ten or more. Building this many miniature drawers is one of the most time-consuming aspects of the project. Each drawer is a tiny box with a front, back, two sides, and a bottom.
At 1/12 scale, I build drawer boxes from stock approximately 1/32 inch thick. The fronts are cut from the same wood as the case exterior. The sides and back are typically from a secondary wood like basswood or poplar. The bottom is a thin panel that slides into grooves plowed into the front and sides.
For the most authentic work, I cut miniature dovetails at the front corners and through-dovetails at the back. This is exacting work that I do with a fine saw and sharp chisel under magnification. Each drawer must slide smoothly in its opening, which requires careful fitting. I plane and sand the sides until the drawer moves freely without excessive play.
I discuss my general approach to miniature drawers more thoroughly in my complete guide to 1/12 scale furniture.
Upper Case Construction
The upper case follows similar principles to the lower case but on a larger scale. I build it as a rectangular box with internal drawer dividers. The dividers are thin horizontal panels that separate each row of drawers. Drawer runners, small strips glued along the inner sides of the case, guide each drawer as it slides in and out.
The most important consideration for the upper case is squareness. If the case racks even slightly, the drawers will bind. I check for square repeatedly during assembly and use a flat reference surface to ensure the case sits true.
The Broken Pediment
For a bonnet-top highboy, the broken pediment is the crowning glory and the most challenging element. It consists of two S-curved scrolls that sweep upward from either side, ending in carved rosettes. A central plinth between the scrolls supports a turned and carved finial.
I shape each scroll from a solid block, cutting the profile with a jeweler’s saw and refining with files. The molding detail on the front face of each scroll is carved in place with micro gouges. The rosettes are tiny carved discs, typically about 1/8 inch in diameter, with radiating petals. I carve these separately and glue them into the scroll ends.
The finials are turned on my miniature lathe from a small spindle of hardwood. A classic flame finial starts as a turned urn shape. I then hand-carve the spiraling flame detail with a sharp knife. These finials are often only 3/8 to 1/2 inch tall, and they become the visual focal point of the entire piece.
Hardware and Finishing
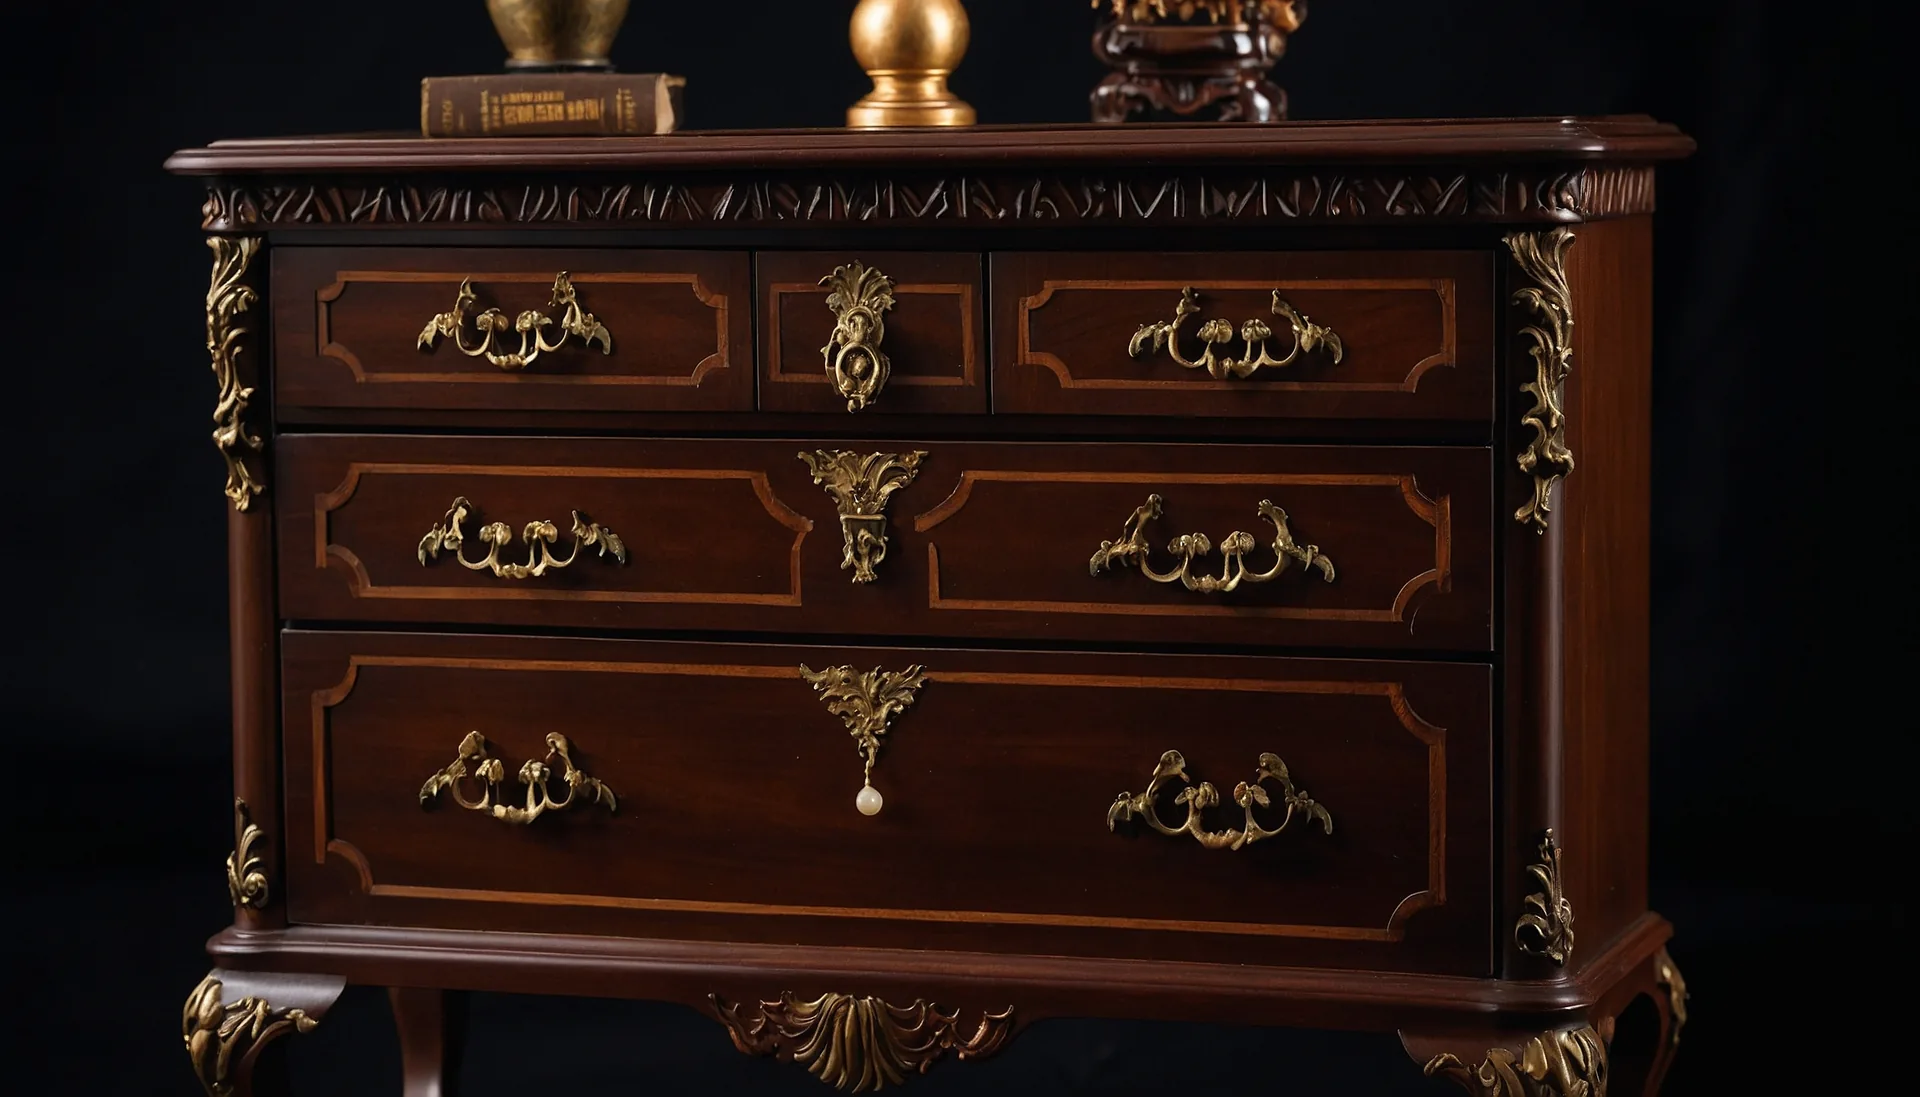
Miniature drawer pulls are essential to the final appearance of a highboy. I use commercially available miniature brass hardware when appropriate, but for the finest work I make my own pulls from brass wire and sheet. A typical Chippendale bail pull consists of a back plate and a swinging bail handle. At 1/12 scale, the entire assembly is roughly 5/32 inch wide.
For finishing, I follow the same approach I use for other period miniatures. Thin coats of shellac or oil, built up gradually, produce a warm glow that suits the historical character of the piece. I sometimes apply a light tint to match the aged patina of antique originals.
Common Pitfalls
The most frequent problem I see in miniature highboys, including my own early attempts, is proportion. A highboy that is too wide looks squat and heavy. One that is too narrow looks unstable. I always work from careful drawings scaled from measured originals, and I check proportions throughout construction.
Another common issue is the leg-to-case transition. The legs need to flow naturally into the case structure without any visible awkwardness. This requires careful planning of how the squared leg post meets the case sides and aprons.
A Worthy Challenge
Building a miniature highboy is a significant undertaking. Plan on many hours of focused work spread over weeks. But the result, a piece that captures the grandeur and craftsmanship of one of the finest furniture forms ever designed, is deeply satisfying. It is the kind of piece that anchors a collection and demonstrates genuine mastery of the craft.
If you would like to see highboys and other case pieces I have built, visit my gallery. For questions about techniques or commissions, please reach out through my contact page.
Continue Your Journey
Related Articles
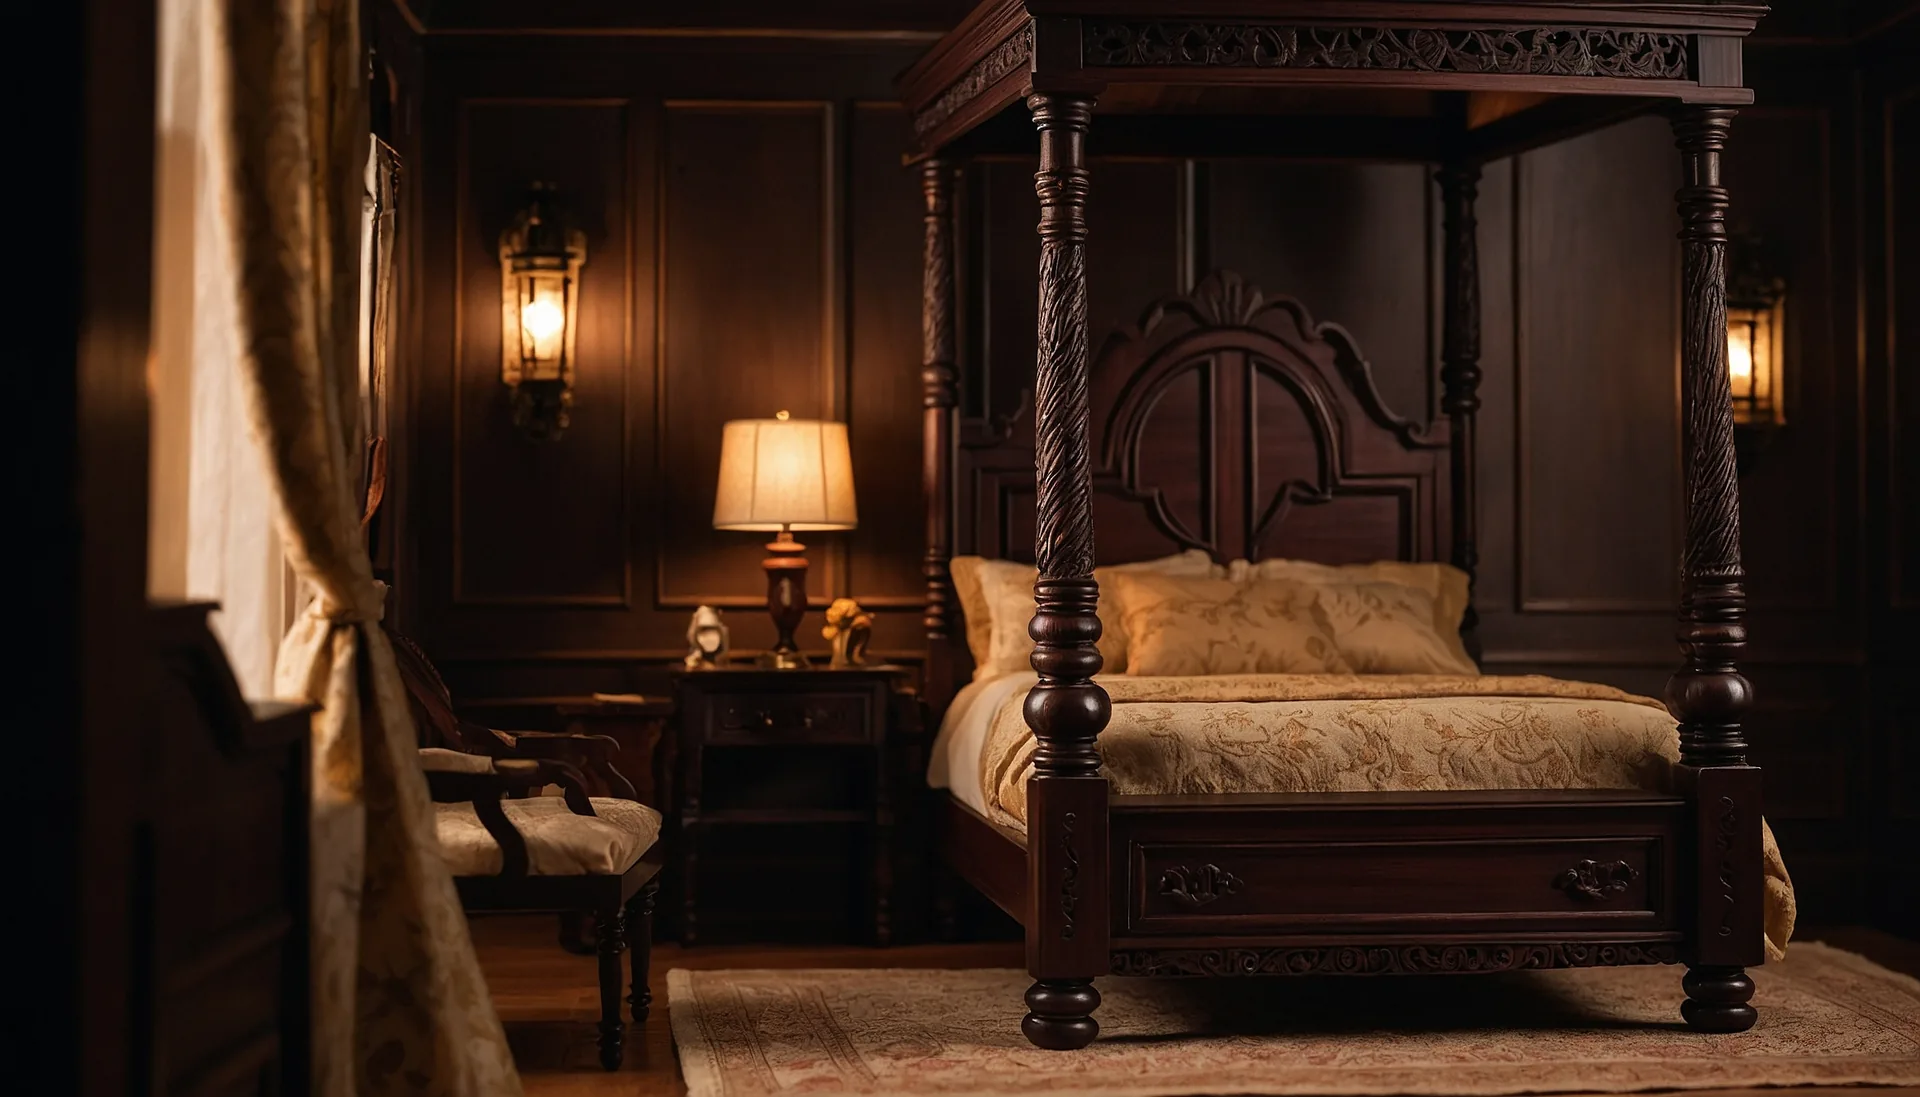
Building a Miniature Four-Poster Bed: Step by Step
Learn how to build a miniature four-poster bed at 1/12 scale. Expert guide covers post turning, headboard carving, joinery, and period-accurate fabric draping.
Chippendale Miniature Furniture: 1/12 Scale Guide
Master Chippendale miniature furniture with expert techniques for ball and claw feet, ribbon-back chairs, and ornate carvings at dollhouse scale.
Federal Period Miniature Furniture: Elegance at 1/12 Scale
Master Federal period miniature furniture with Hepplewhite and Sheraton techniques. Learn stringing, banding, tapered legs, and inlay work at 1/12 scale.