
Queen Anne Miniature Furniture: History and Techniques
Explore Queen Anne miniature furniture history and techniques. Learn to craft cabriole legs, pad feet, and shell carvings at 1/12 scale from a master craftsman.
Few furniture styles capture the grace and sophistication of the early eighteenth century quite like Queen Anne. Defined by flowing curves, restrained ornamentation, and an unmistakable sense of lightness, Queen Anne furniture represents a turning point in design history. For those of us who work in 1/12 scale, reproducing this style is both deeply rewarding and genuinely demanding. Every cabriole leg, every pad foot, every delicate shell carving must be executed with precision that leaves no room for error.
In this guide, I want to walk you through the history behind Queen Anne furniture, explain its defining characteristics, and share the techniques I have developed over years of reproducing these pieces in miniature. Whether you are a collector looking to understand what separates an exceptional miniature from an average one, or a fellow maker considering your first Queen Anne project, I hope this gives you a solid foundation.
A Brief History of the Queen Anne Style
The Queen Anne style emerged in England during the early 1700s, named after Queen Anne who reigned from 1702 to 1714. However, the style actually reached its full expression in the decades following her reign, roughly between 1720 and 1760. It represented a dramatic departure from the heavy, rectangular William and Mary furniture that preceded it.
Where earlier pieces relied on turned legs and stretchers for visual interest, Queen Anne designers embraced the curve. The cyma curve, an S-shaped line that flows from concave to convex, became the foundation of virtually every design element. This was furniture that breathed. It felt alive in a way that earlier styles simply did not.
When the style crossed the Atlantic, American cabinetmakers adapted it to regional tastes and available materials. Philadelphia makers favored walnut and bold proportions. New England craftsmen leaned toward maple and cherry with more slender, vertical lines. These regional variations created a rich vocabulary that I draw on constantly in my miniature work.
Defining Characteristics of Queen Anne Furniture
Understanding the core elements of Queen Anne design is essential before attempting to reproduce them in miniature. Here are the features that define the style.
The Cabriole Leg
The cabriole leg is the single most recognizable feature of Queen Anne furniture. It curves outward at the knee and inward at the ankle, terminating in a foot. The shape derives from animal legs and gives pieces an organic quality that straight legs cannot achieve.
At full scale, shaping a cabriole leg requires careful bandsawing and hand carving. At 1/12 scale, the challenge multiplies dramatically. I typically start with a squared blank of fine-grained hardwood, no more than about 1/4 inch square. I mark the profile on two adjacent faces, then carefully remove waste with a jeweler’s saw before refining the curves with small files and sandpaper wrapped around dowels. The grain orientation matters enormously at this scale. Short grain at the ankle is the most common failure point, and I always orient the blank so the grain runs as continuously as possible through the curves.
Pad Feet and Variations
The simplest Queen Anne foot is the pad foot, a flattened disc at the base of the cabriole leg. More refined versions include the trifid foot with three toes, the slipper foot with an elongated oval shape, and the drake foot that resembles a webbed bird’s foot.
In miniature, I shape pad feet with careful filing after the cabriole leg profile is established. The trifid foot requires a steady hand and a fine V-gouge to separate the three lobes. I have found that pear wood and boxwood hold these details better than almost anything else, which is something I discuss further in my guide to choosing wood for miniatures.
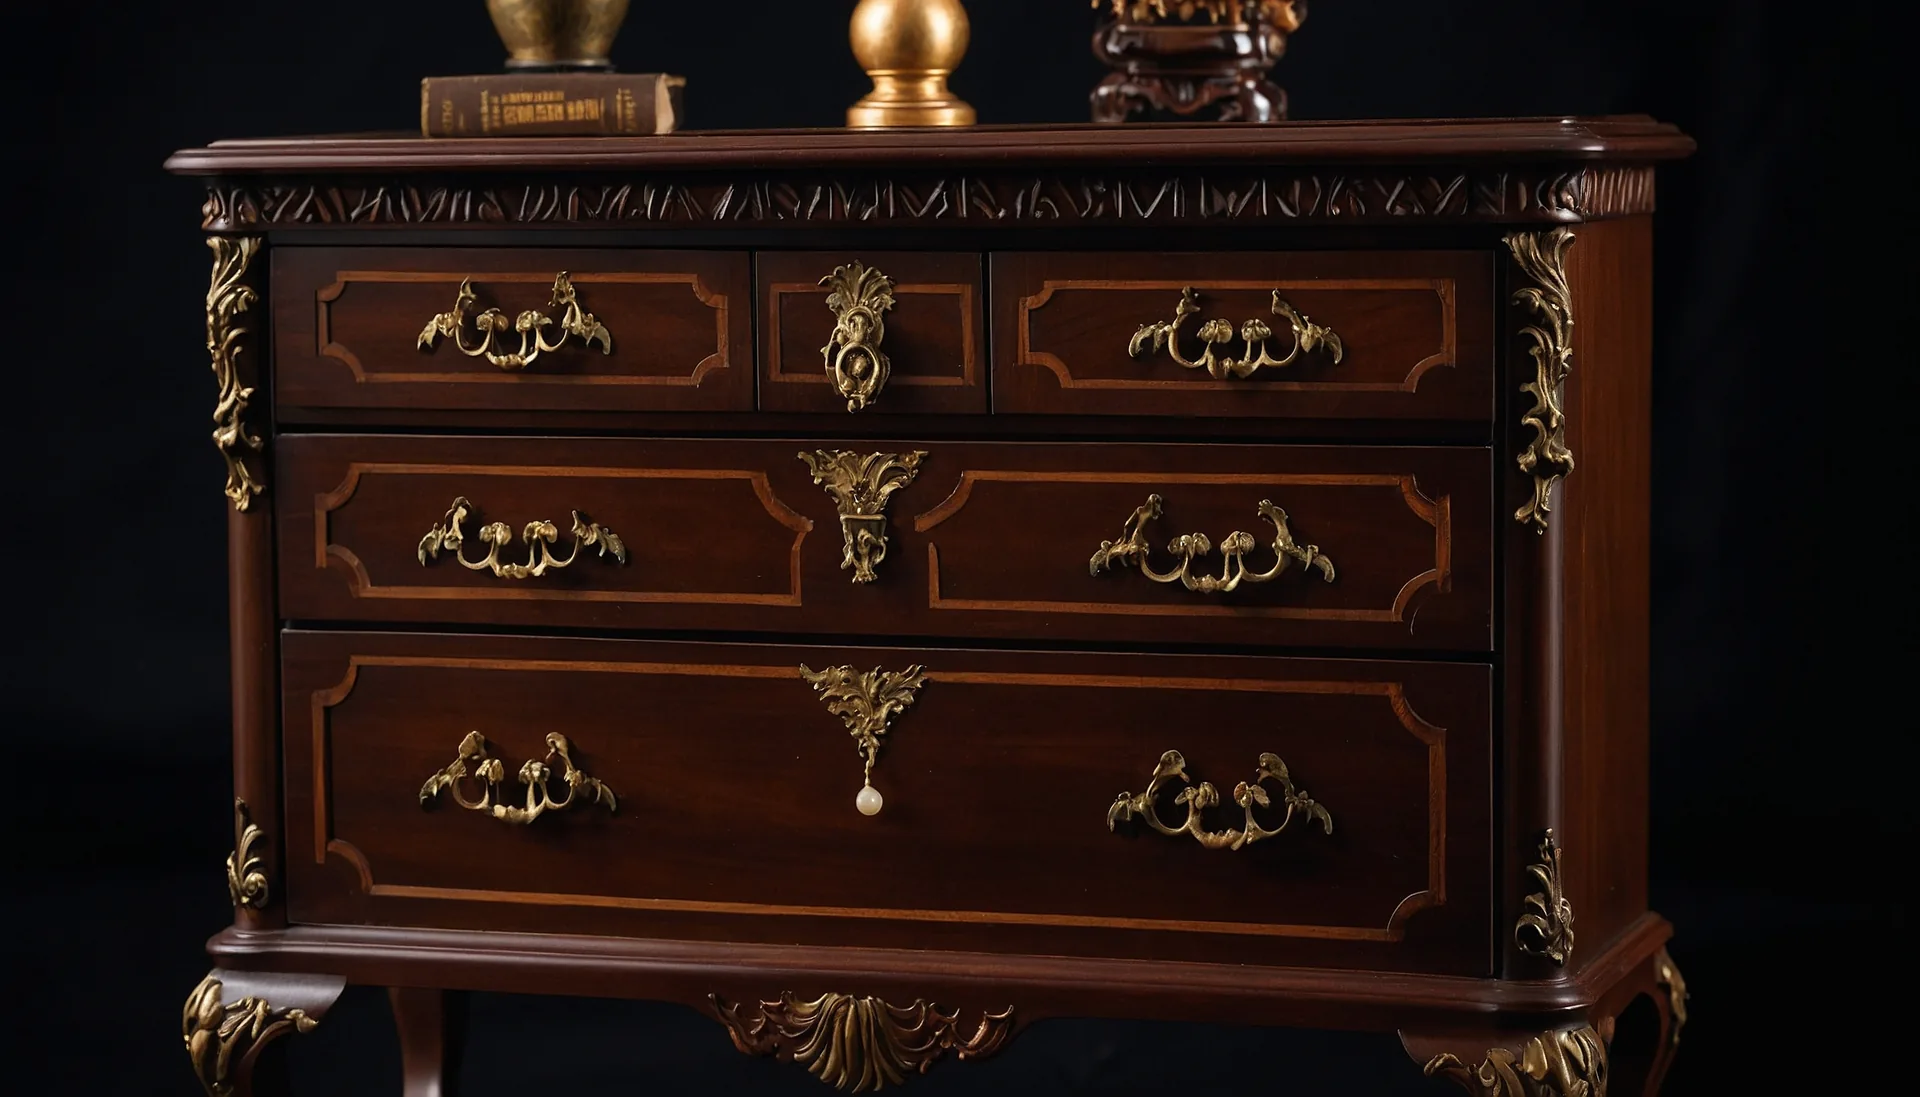
Shell Carvings
The scallop shell is the primary decorative motif of Queen Anne furniture. It appears on chair crests, drawer fronts, and knee brackets. At full scale, a shell carving might span four or five inches. At 1/12 scale, that same shell needs to fit in roughly 3/8 inch or less.
I carve miniature shells using a combination of micro gouges and a sharp craft knife. The key is establishing the overall convex or concave form first, then carefully incising the radiating lobes. I typically carve six to eight lobes on a miniature shell, fewer than you would see at full scale, because the proportions read more clearly with slightly fewer divisions at small size. This is one of many instances where strict mathematical scaling produces inferior results. Good miniature work requires artistic judgment about what to simplify.
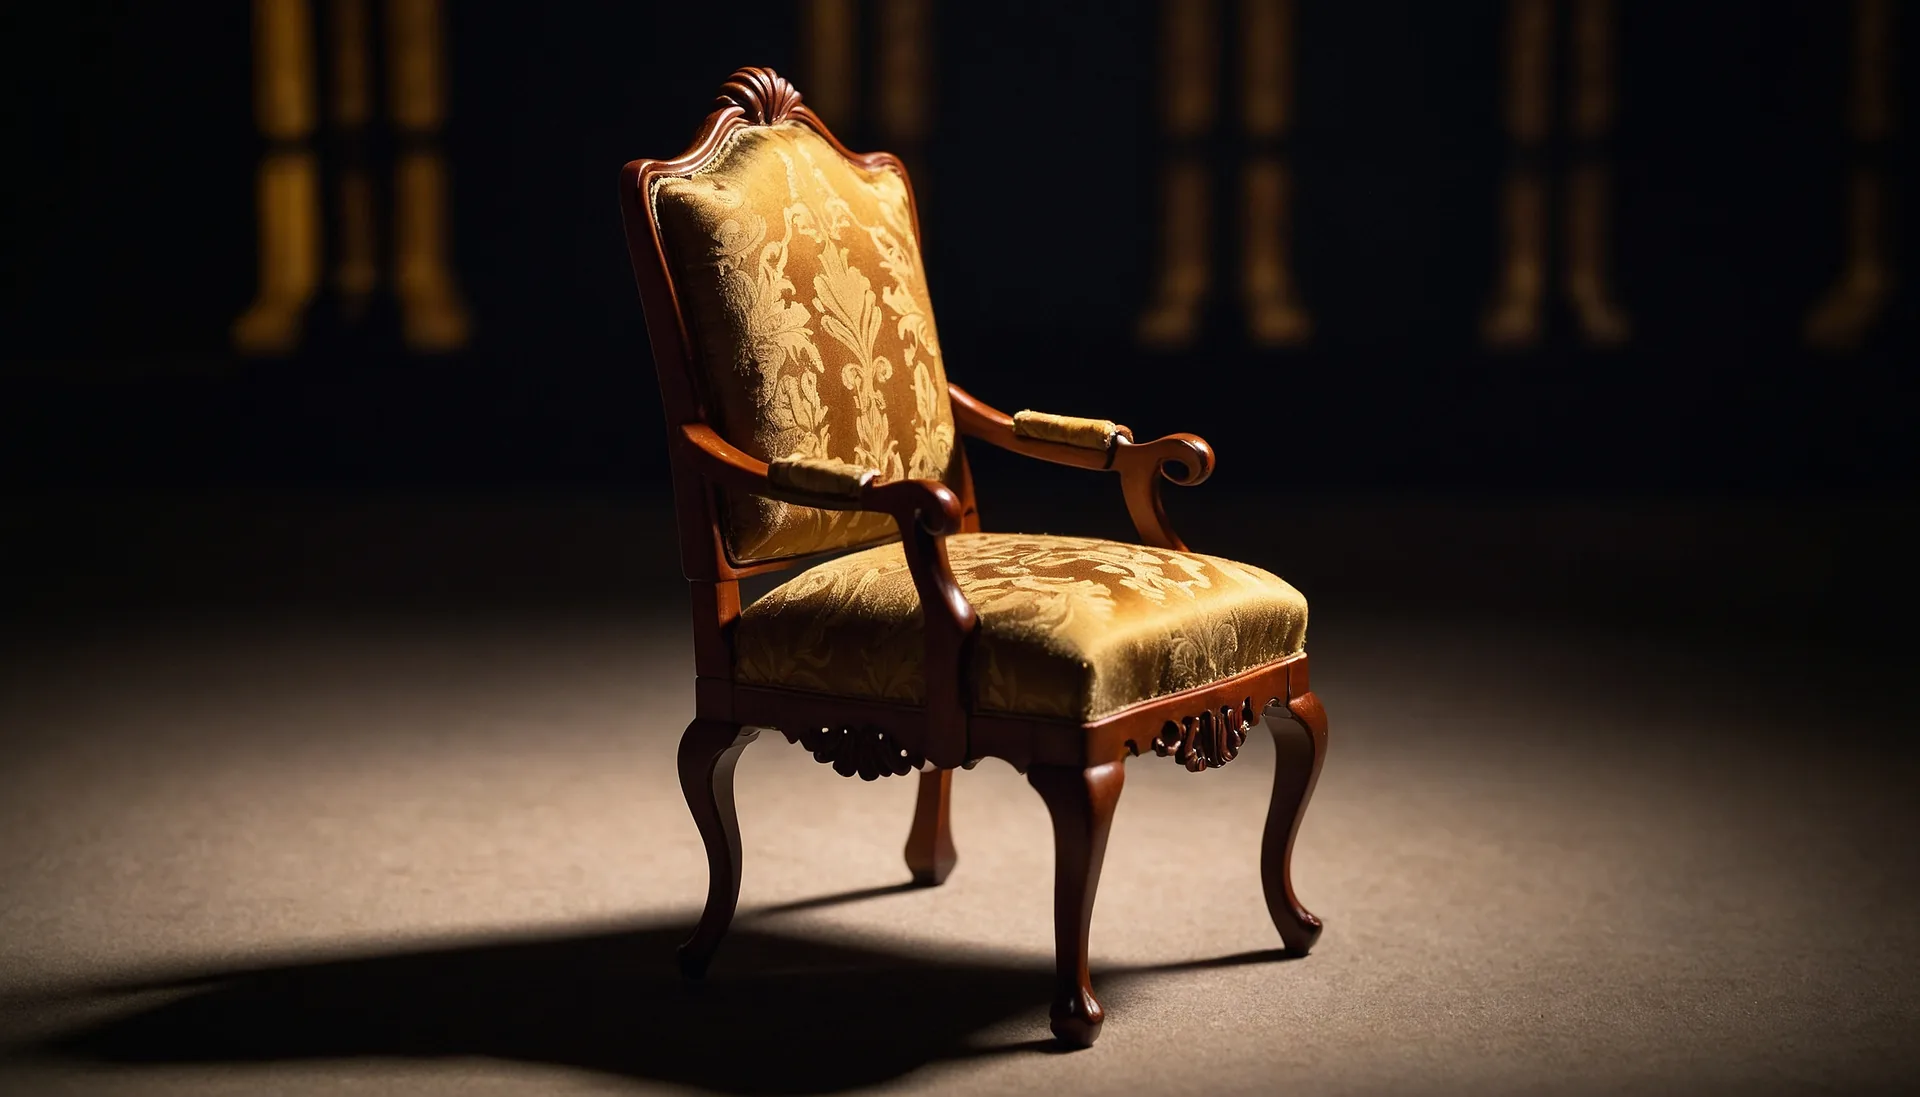
Vase-Shaped Splats and Yoke Crests
Queen Anne chairs feature a central back splat shaped like a vase or fiddle. The splat is typically solid rather than pierced, distinguishing it from the later Chippendale style. The crest rail curves upward in a gentle yoke shape.
For miniature chair splats, I saw the profile from thin stock, usually around 1/32 inch thick, using a jeweler’s saw with a fine blade. The edges are then softened and shaped to suggest the gentle curves of the original. The crest rail is a separate piece that I carve to shape before joining it to the stiles with tiny mortise-and-tenon joints.
Reproducing Queen Anne Features at 1/12 Scale
Material Selection
Queen Anne furniture was most commonly made from walnut in England and the early American colonies. Cherry, maple, and mahogany also appear depending on region and date. For miniature work, I prefer domestic cherry and European pear for their fine grain and excellent carving properties. Walnut can work well, but the grain is sometimes too open at this scale to hold fine details like shell carvings.
Joinery Considerations
Even at 1/12 scale, I use real joinery wherever structurally necessary. Cabriole legs join the seat rails through mortise-and-tenon joints. Drawer construction follows traditional methods with tiny dovetails. I discuss my approach to miniature joinery more thoroughly in my complete guide to 1/12 scale furniture.
That said, some joints that are critical at full scale become impractical at miniature scale. Corner blocks, which reinforce the junction between legs and seat rails in full-size chairs, are often omitted or simplified in miniature because the stresses are negligible.
The Challenge of Curves
The single greatest challenge in Queen Anne miniature furniture is achieving smooth, flowing curves. At full scale, minor irregularities disappear. At 1/12 scale, every bump and flat spot is amplified. I spend more time refining curves on a Queen Anne piece than on almost any other aspect of construction.
My approach involves progressive refinement. After rough shaping with saws and files, I move through increasingly fine abrasives, often finishing with 600-grit paper. For cabriole legs, I wrap sandpaper around shaped forms, dowels, and even toothpicks to get into the transitions between knee and ankle. The ankle-to-foot transition is particularly critical. It must flow seamlessly or the entire leg looks stiff.
Common Queen Anne Pieces for Miniature Work
If you are considering your first Queen Anne miniature project, I would suggest starting with a simple side table with cabriole legs and pad feet. This gives you the essential experience of shaping cabriole legs without the complexity of a full piece of case furniture.
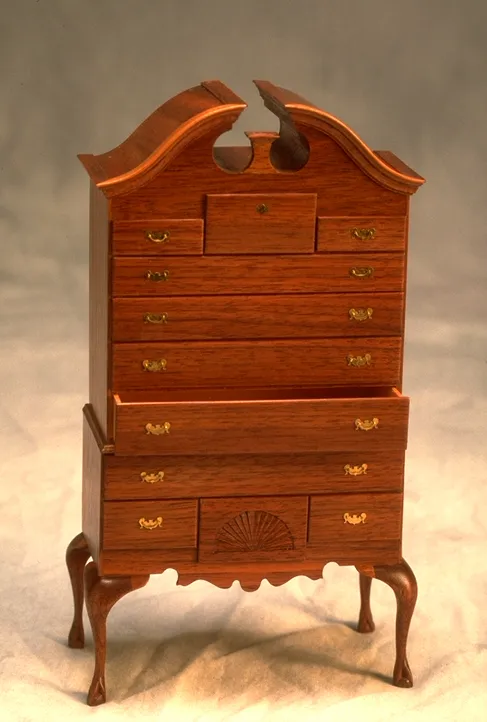
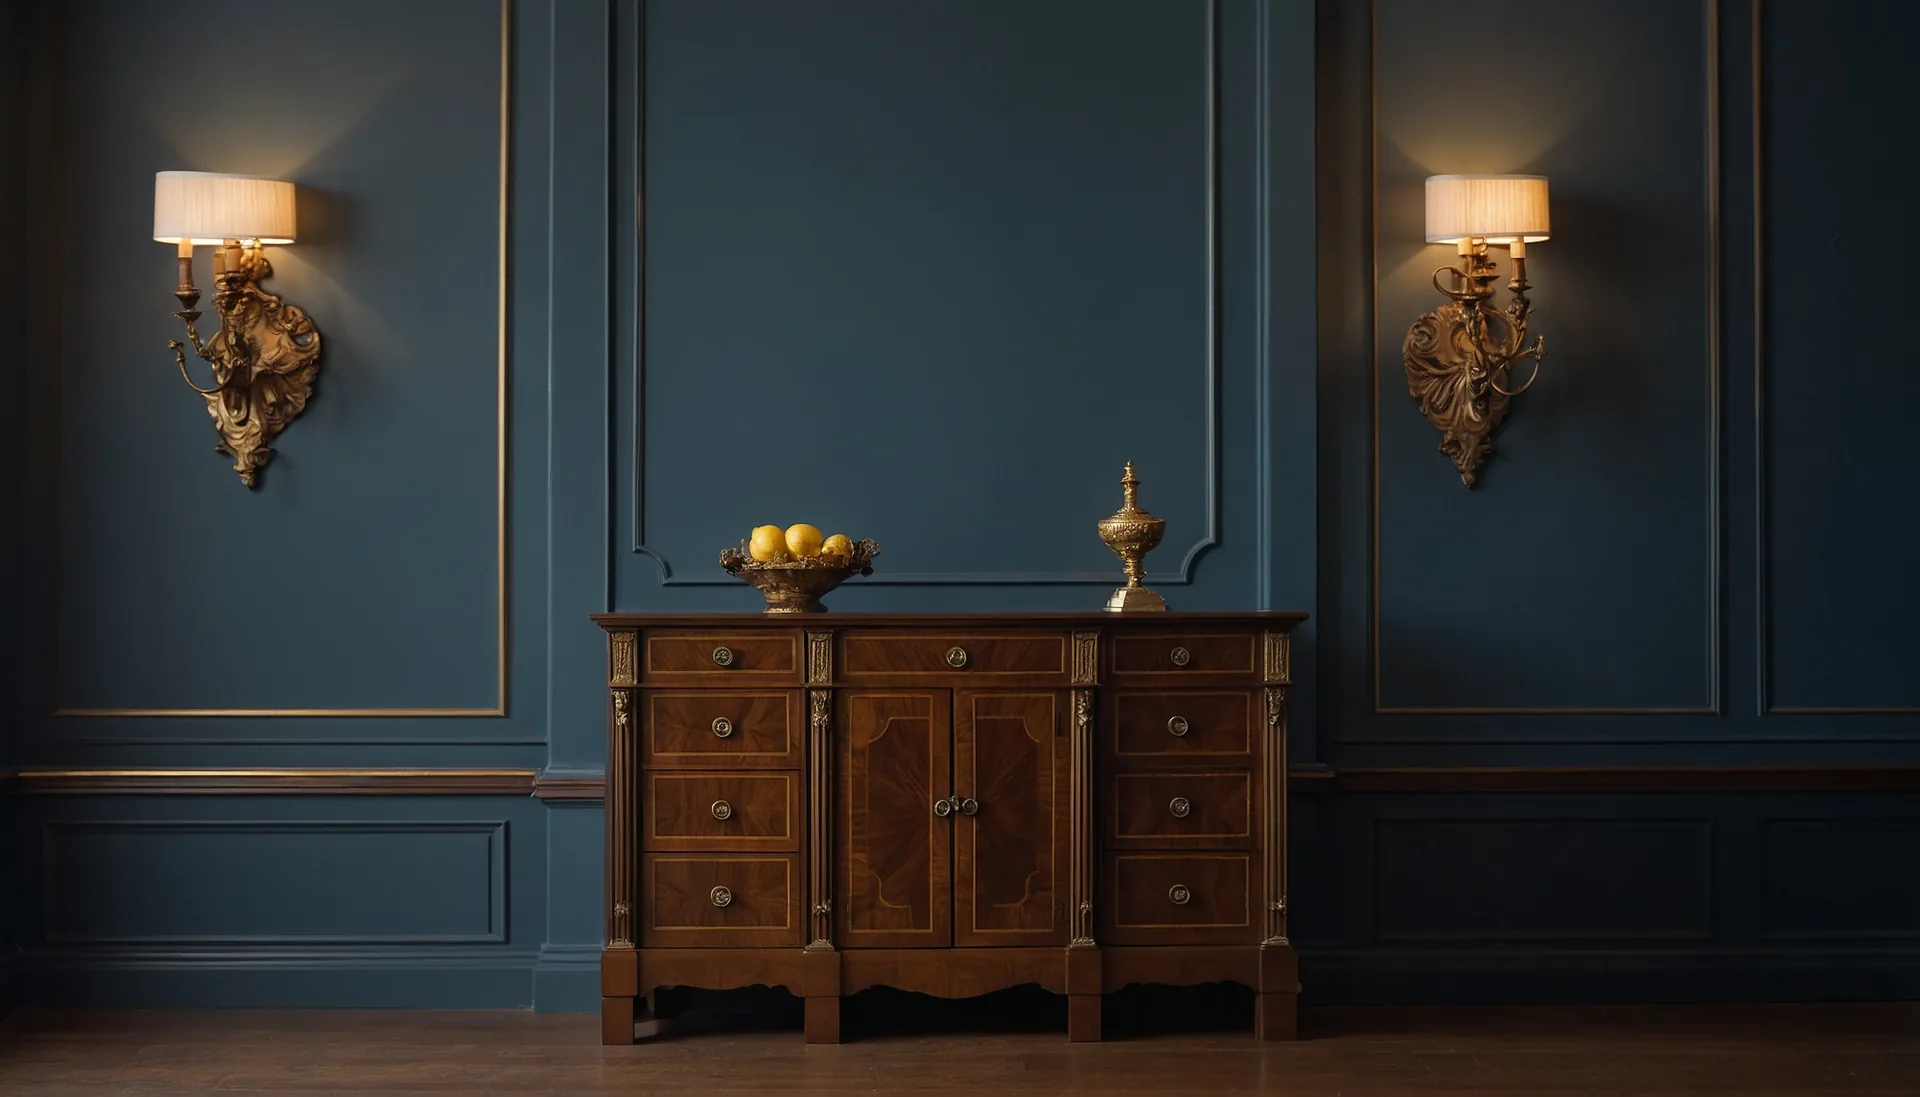
From there, a Queen Anne side chair is a natural next step, introducing the vase splat and yoke crest. A lowboy or dressing table adds drawer construction and apron shaping to the mix. And for the truly ambitious, a Queen Anne highboy combines all of these elements with the additional challenge of a two-part case with turned finials.
Finishing Queen Anne Miniatures
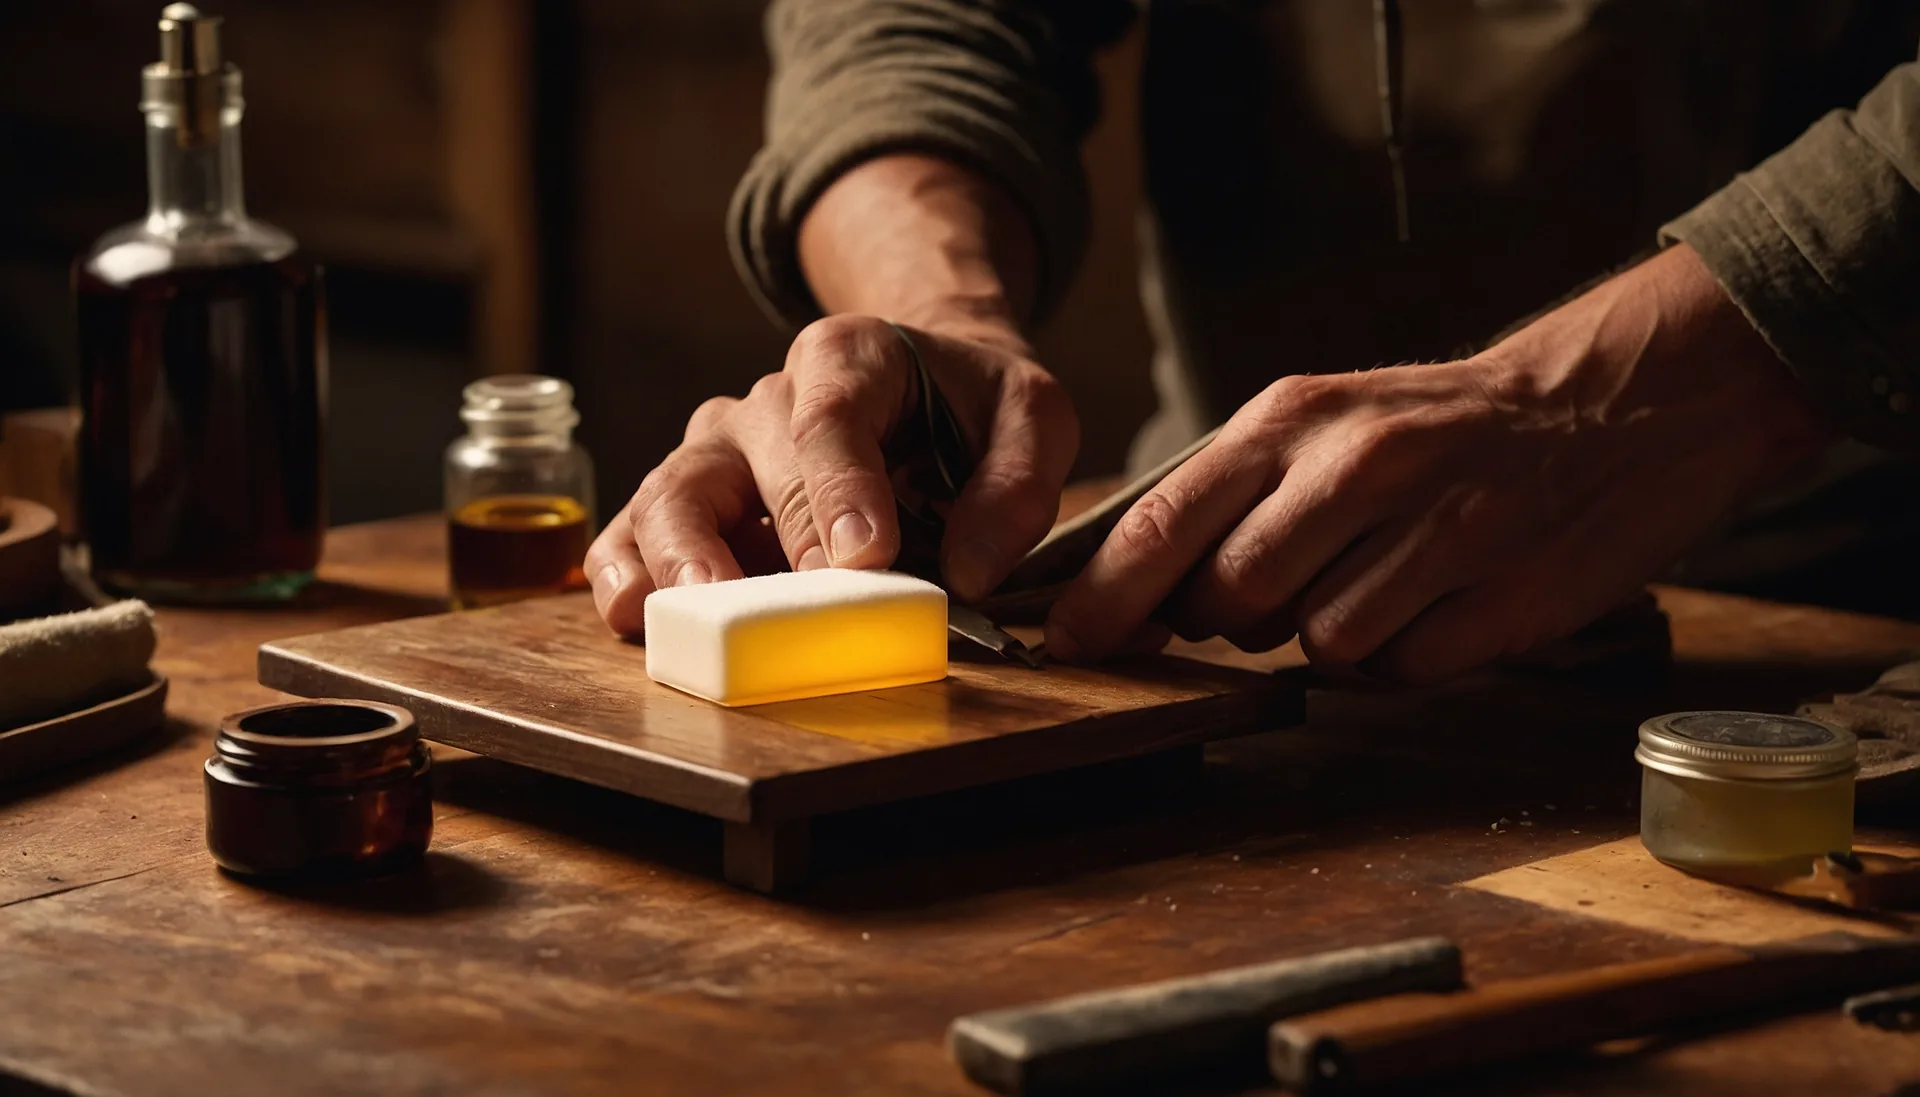
Historically, Queen Anne furniture was finished with oils, shellac, or early varnishes. For my miniatures, I typically use a hand-rubbed oil finish or thin shellac, applied with a fine brush and built up in many light coats. The finish should enhance the wood without obscuring it. Queen Anne furniture celebrated the natural figure of walnut and other fine woods, and the finish should do the same.
I avoid heavy lacquers and polyurethane on Queen Anne pieces. They look too plastic and modern, which undermines the warmth and subtlety of the style. If you are interested in period-appropriate finishing techniques, I cover that topic in depth in other articles on the blog.
Final Thoughts
Queen Anne miniature furniture sits at a fascinating intersection of historical knowledge and technical skill. The style demands that you understand curves, that you can carve cleanly at tiny scales, and that you have the patience to refine every surface until it flows. It is not the most ornate style, as Chippendale and Victorian furniture push decoration further, but Queen Anne may be the most elegant.
If you would like to see examples of Queen Anne miniatures I have built, visit my gallery. And if you have questions about techniques or want to discuss a commission, I am always happy to hear from fellow enthusiasts through my contact page.
Continue Your Journey
Related Articles
Chippendale Miniature Furniture: 1/12 Scale Guide
Master Chippendale miniature furniture with expert techniques for ball and claw feet, ribbon-back chairs, and ornate carvings at dollhouse scale.
Federal Period Miniature Furniture: Elegance at 1/12 Scale
Master Federal period miniature furniture with Hepplewhite and Sheraton techniques. Learn stringing, banding, tapered legs, and inlay work at 1/12 scale.
Finishing Techniques for Miniature Furniture
Master miniature furniture finishing with this complete guide to staining, French polishing, lacquer spraying, and wax finishing at 1/12 scale.