
Setting Up Your Miniature Woodworking Workshop
Plan your miniature woodworking workshop with this guide to workbenches, lighting, magnification, dust collection, and storage for 1/12 scale furniture.
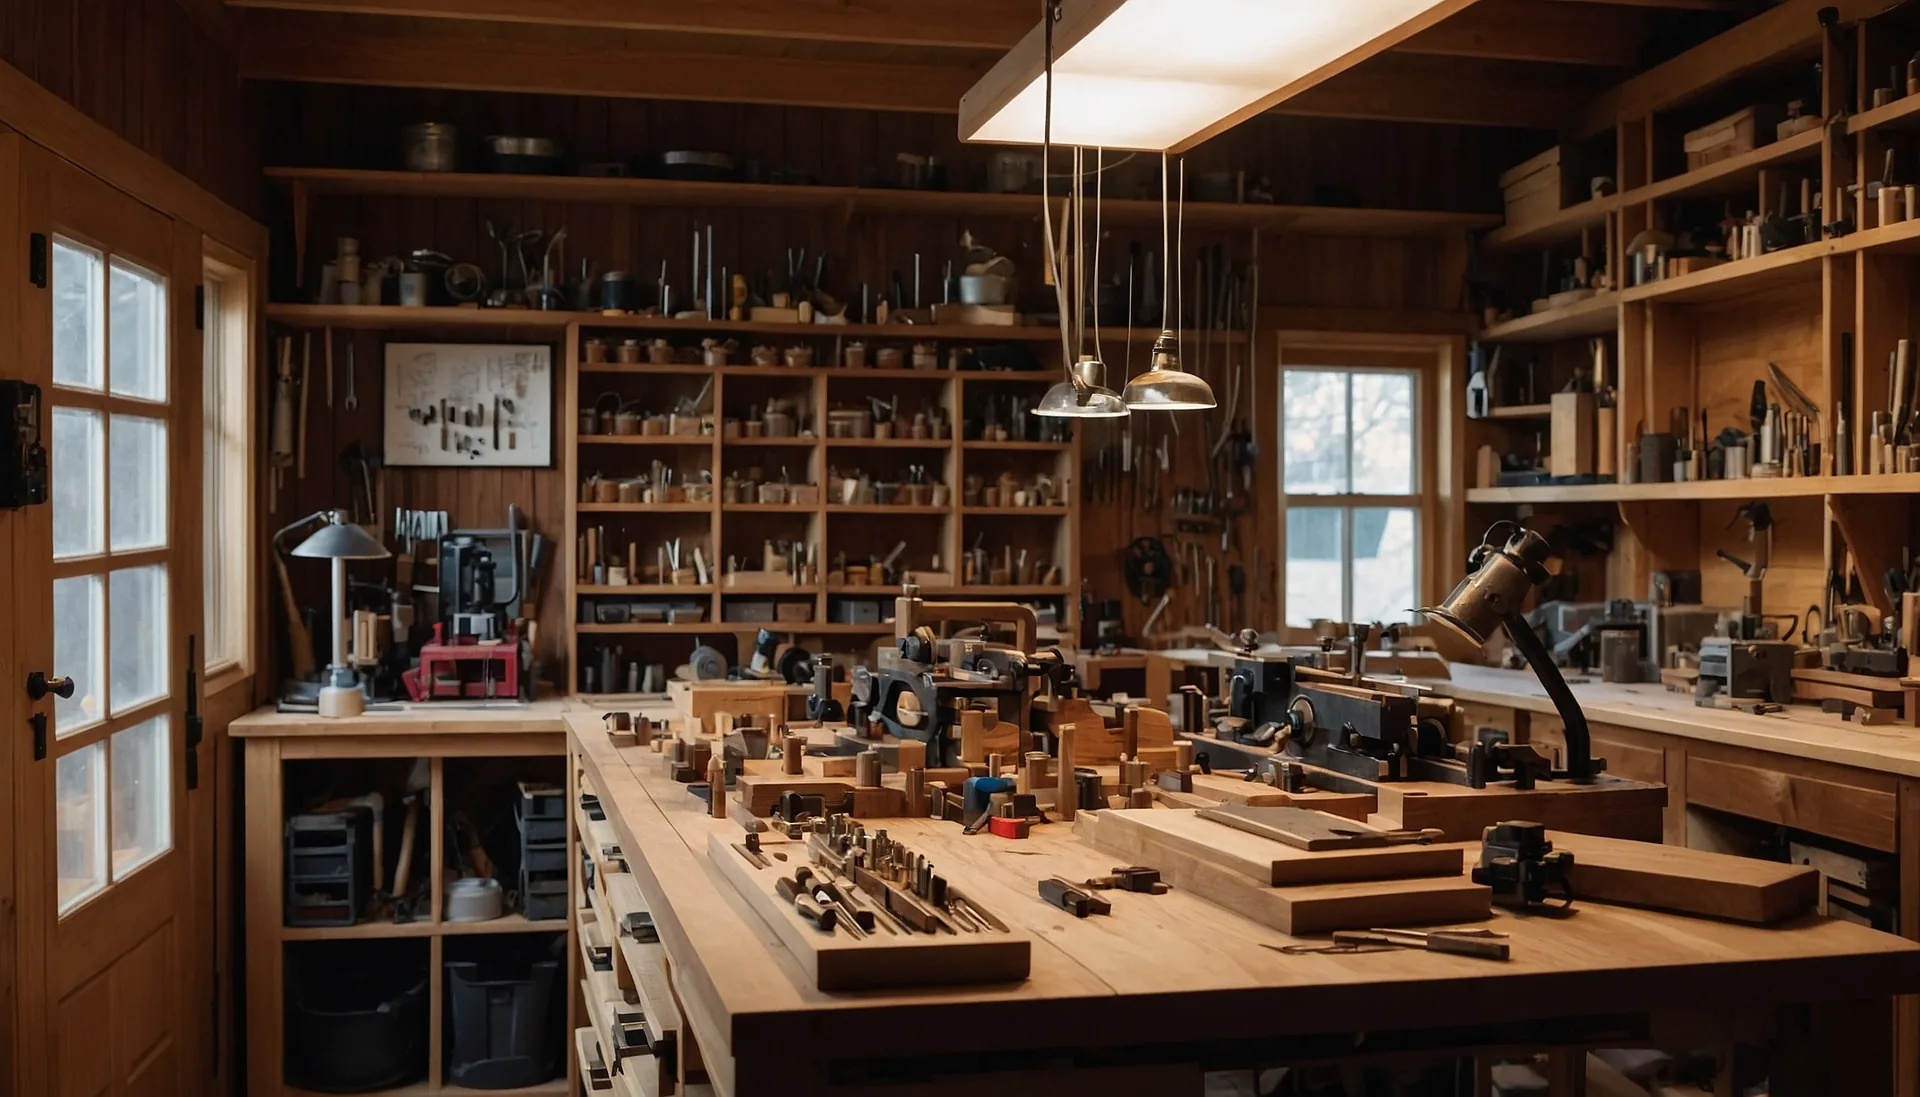
Your workshop is where the magic happens. It is also where frustration breeds if the space is not set up thoughtfully. I have worked in everything from a corner of a kitchen table to a dedicated workshop room, and I can tell you that the physical environment has a direct impact on the quality of your miniature furniture and the enjoyment you get from making it.
The good news is that miniature woodworking does not require a full-size woodworking shop. You do not need a table saw, a planer, or a drill press the size of a refrigerator. What you do need is a well-organized, well-lit, comfortable space designed around the specific demands of small-scale work. Here is how to create one.
The Workbench
Your workbench is the center of your miniature workshop. Every operation, from cutting to finishing, happens here. Getting it right is worth serious thought.
Height and Ergonomics
Miniature work demands extended periods of close focus. If your bench is too high, your shoulders creep upward and tension builds. Too low, and you hunch forward, straining your neck and back. The ideal bench height brings your work to a comfortable viewing distance without requiring you to lean.
For most people, this means a bench that is 2 to 4 inches higher than a standard desk. When seated, your forearms should rest comfortably on the surface with your elbows at roughly 90 degrees, and your work should be close enough to see clearly through your magnification without leaning forward.
Consider a bench with adjustable height, or build a fixed bench carefully matched to your body and your chair. I use a drafting chair with adjustable height so I can fine-tune my position throughout the day.
Surface Material
The bench surface should be smooth, flat, and a neutral light color. A light surface makes tiny components visible against the background. I use a piece of smooth, light-colored hardboard as a sacrificial top surface. When it gets scarred or stained, I replace it.
Some miniaturists work on a self-healing cutting mat, which provides a resilient surface for knife work and includes a printed grid for quick measurements. This is a practical choice, though I prefer the feel of a solid surface for most operations.
Size Requirements
A miniature workbench does not need to be enormous. A surface roughly 24 to 36 inches wide and 20 to 24 inches deep is sufficient for most work. Depth matters less than you might think, because your active work zone, the area directly in front of you where cutting and assembly happen, is quite small.
What does matter is having clear, uncluttered space around your active work zone. Piles of tools, offcuts, and supplies at the periphery of your bench create visual noise and make it harder to find what you need. Keep the working surface clean and relegate storage to drawers, shelves, and organizers.
Lighting: The Most Critical Investment
I cannot overstate the importance of lighting for miniature work. Inadequate light leads to eyestrain, missed defects, inaccurate cuts, and premature fatigue. Good lighting makes everything easier and more enjoyable.
Task Lighting
You need bright, focused light directly over your work area. Adjustable-arm desk lamps with LED bulbs are ideal. Look for lights with a high color rendering index, listed as CRI on the packaging. A CRI of 90 or above renders colors accurately, which matters when you are evaluating stains and finishes. A CRI below 80 distorts colors and can lead to finishing decisions that look wrong in natural light.
I recommend having two task lights positioned to illuminate your work from slightly different angles. This reduces shadows and provides more even coverage. When both lights are on, you should be able to see your work clearly with no dark areas.
Ambient Lighting
In addition to task lights, the room itself should be well lit. Working in a bright-task, dark-room environment creates contrast fatigue. Overhead room lighting that provides even, moderate illumination keeps your eyes comfortable during the transitions between looking at your work and glancing around the room.
Raking Light
Keep one task light that you can angle to provide raking light across your work surface. Raking light, where the beam hits the surface at a very low angle, reveals surface imperfections that are invisible under direct overhead light. This is essential during surface preparation and finishing.
Magnification
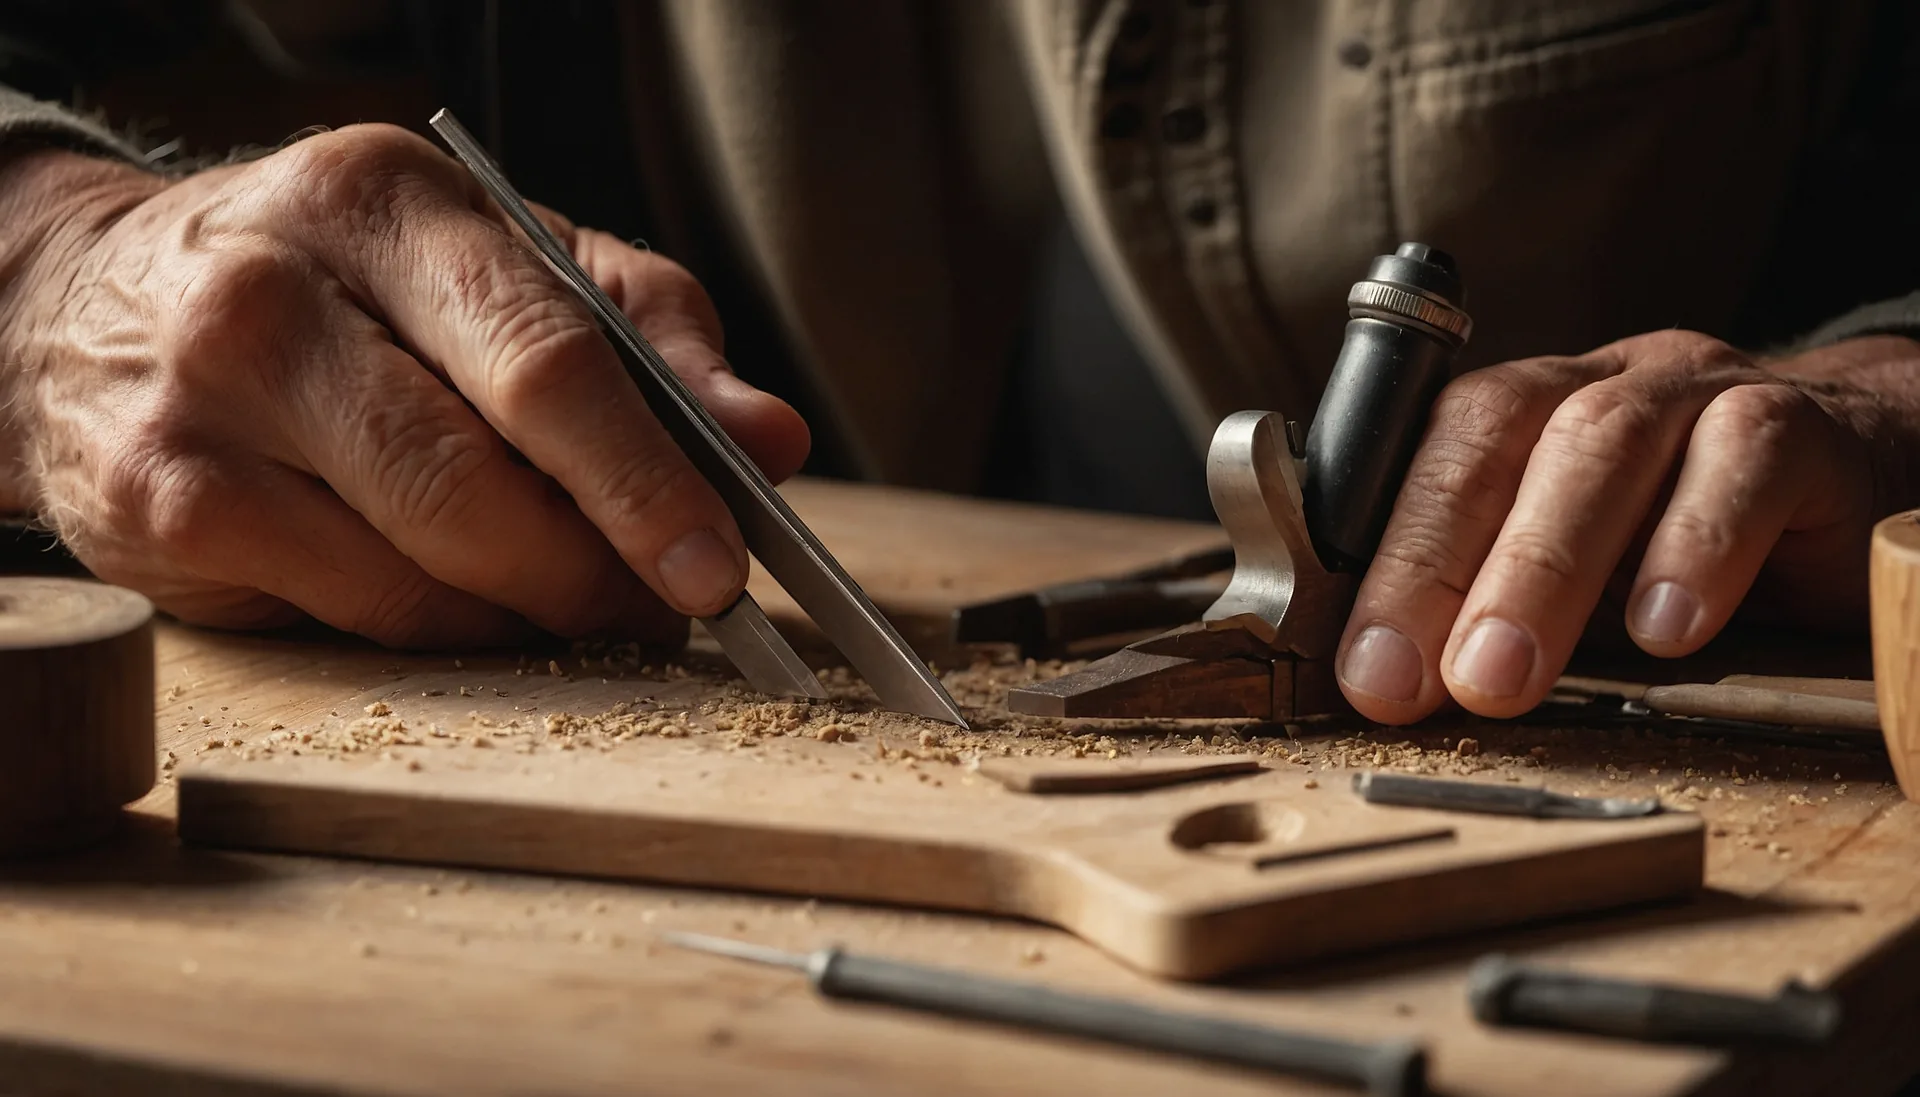
Working at 1/12 scale means working with details that are at or beyond the limits of unaided vision, particularly as your eyes age. A proper magnification setup is not a luxury. It is a necessity.
Magnifying Headband (Optivisor)
This is the most popular magnification tool among miniaturists, and for good reason. It leaves both hands free, moves with your head, and provides consistent magnification across your entire field of view. I use interchangeable lenses that provide 2x magnification for general work and 3.5x for fine joinery and detail work.
The slight optical distortion at the edges of the field is something you get used to quickly. Choose a model with a comfortable headband that does not create pressure points during extended use.
Swing-Arm Magnifier Lamp
A swing-arm magnifier with an integrated ring light combines magnification with shadow-free lighting. These are excellent for stationary tasks like fitting joints and applying finishes. The fixed position means your work must come to the magnifier rather than the other way around, which makes them less flexible than a headband for operations that require moving the workpiece.
Clip-On Magnifiers
Magnifiers that clip onto your glasses provide a hands-free option for people who already wear corrective lenses. These are convenient but tend to offer lower magnification than dedicated optivisors.
When to Magnify
Not every operation requires magnification. Rough cutting, initial shaping, and material preparation can usually be done with unaided vision or reading glasses. Save magnification for layout, joinery, fine shaping, and finishing. Constant use of high magnification causes eye fatigue faster than intermittent use.
Dust Collection and Air Quality
Miniature woodworking produces less dust than full-size work, but the dust it does produce can be harmful, particularly when working with exotic wood species. A responsible approach to dust management protects your health and keeps your workspace clean.
At the Source
A small shop vacuum with a hose positioned near your cutting area captures dust as it is generated. You do not need an industrial dust collection system. A household vacuum with a HEPA filter does an excellent job for the volumes of dust miniature work produces.
Air Filtration
An ambient air filtration unit that hangs from the ceiling or sits on a shelf filters fine particles from the workshop air. These units circulate room air through a series of filters, gradually cleaning the air even while you work. For the small volumes of miniature work, a compact unit rated for a bedroom or small office is sufficient.
Personal Protection
For sanding, sawing, and any operation that generates airborne particles, wear a dust mask or respirator. This is especially important when working with woods known to be respiratory irritants. My safety guide covers this topic in detail.
Storage and Organization
Tiny parts get lost. This is an inescapable law of miniature work. Your storage system should fight this tendency at every turn.
Component Storage
Small, compartmentalized containers are essential for keeping project parts organized. I use a combination of tackle boxes, bead storage containers, and labeled plastic bags. Each project gets its own container, and each component within the project is stored separately with a label indicating what it is and where it goes.
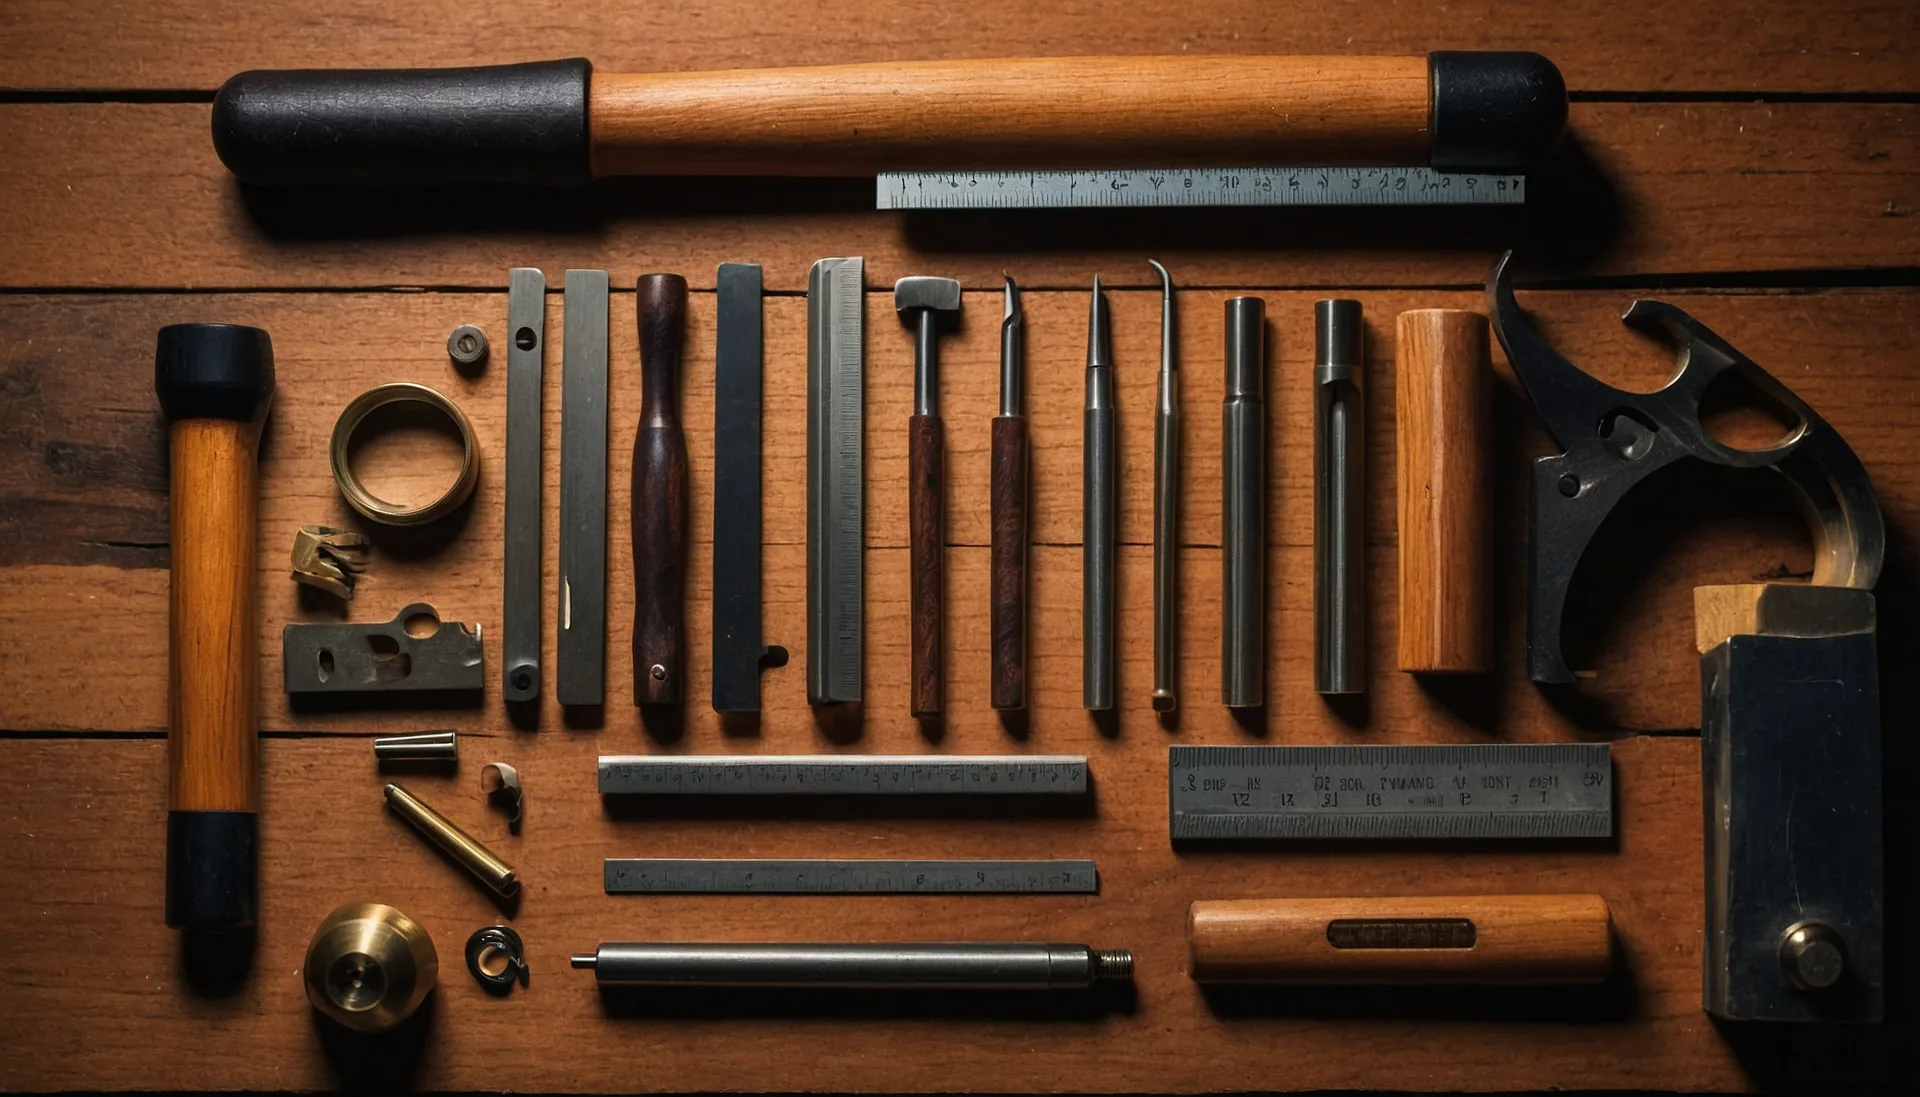
Tool Storage
Tools should be accessible, organized, and protected. A wall-mounted tool rack keeps your most-used tools within arm’s reach without cluttering the bench. Micro chisels and precision instruments should be stored in protective rolls or cases that prevent edge damage.
Wood Storage
Your stock of miniature lumber needs to be organized by species, grain type, and thickness. I use shallow drawers with dividers, each labeled with the wood species and the date it was acquired. This lets me grab the right material quickly and ensures I use older stock before newer stock.
Hardware and Supplies
Tiny hinges, pins, knobs, and other hardware have a talent for disappearing into the bench clutter. Store them in labeled containers organized by type and size. A set of small drawer units with clear fronts lets you see what you have without opening every drawer.
Ergonomics and Comfort
Miniature work involves long periods of seated focus. If your seating and work position are not comfortable, you will develop strain injuries that can sideline you for weeks.
Chair Selection
Invest in a good adjustable chair with lumbar support. You will spend hours in it. A drafting chair works well because it accommodates the slightly higher bench height that miniature work benefits from.
Break Schedule
Take breaks every 30 to 45 minutes. Stand up, stretch, and let your eyes focus on something across the room or out a window. This prevents the cumulative strain that leads to headaches, neck pain, and repetitive strain injuries. I discuss ergonomic safety in more detail in my safety guide.
Hand and Wrist Care
The precise, repetitive motions of miniature work can strain the small muscles of the hands and wrists. Stretching exercises before and during work sessions help prevent problems. If you experience persistent pain, numbness, or tingling, stop working and consult a healthcare professional.
The Finishing Area
Finishing requires a dust-free environment, which is challenging to maintain in a workshop that also generates sawdust. If space allows, designate a separate area for finishing work. Even a card table set up in a clean corner of the room, away from the cutting area, helps keep dust off wet finishes.
Good ventilation is essential in the finishing area. Shellac, lacquer, and other finishing products release fumes that require fresh air circulation. An open window with a fan exhausting air to the outside is the minimum requirement. For spray finishing with an airbrush, a spray booth with exhaust filtration is strongly recommended.
Starting Small
You do not need a perfect workshop to start making miniature furniture. Many accomplished miniaturists began with a desk lamp, a cutting mat, and a shoe box of tools. As your skills develop and your ambitions grow, you can upgrade and expand your workspace incrementally.
The most important thing is to start. Clear a space, set up good lighting, organize your tools, and build your first piece. My beginner’s guide will help you take those first steps.
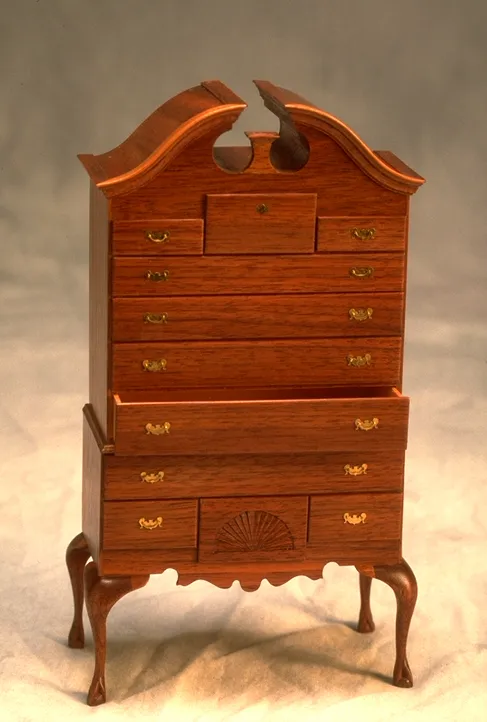
If you want to see the kind of work that comes out of a thoughtfully arranged miniature workshop, browse my gallery. Every piece there was made in a space not much bigger than a kitchen table. It is not the size of the shop that matters. It is what you do in it.
Continue Your Journey
Related Articles
Essential Miniature Woodworking Tools Every Craftsman Needs
A complete guide to miniature woodworking tools, from micro chisels and jeweler's saws to magnification and finishing supplies for 1/12 scale furniture.

Miniature Tall Case Clocks: The Ultimate Challenge
Discover why miniature tall case clocks are the ultimate 1/12 scale woodworking challenge. Expert guide to case construction, dial faces, and finial turning.
Miniature Woodworking for Beginners: Where to Start
A practical beginner's guide to miniature woodworking. Learn the mindset, first tools, starter projects, and common mistakes to avoid in small scale work.